


Using Workflow Collaboration to Handle Complex Business
There might be a need for collaboration among workflows within a company, such as the collaboration between the business trip/procurement workflow and the reimbursement workflow, the collaboration between the product quality inspection workflow and the product rework workflow, and the collaboration between the product return workflow and the product warehousing workflow.
In the past, many users put the workflows that require collaboration into one form, which not only increases the cost in the early stage, but also causes great trouble in the later maintenance.
Now you can resort to Child Workflow to easily achieve the collaboration among workflows, and manage complex businesses with ease.
Collaboration Between Business Travel/Purchase/Project and Reimbursement
For users:
- Past: Before starting a business trip, one might submit an application for the trip. After the trip ends, the applicant need to fill out the reimbursement application in the reimbursement workflow manually.
- Now: With the help of Child Workflow, reimbursement application can be initiated automatically.
For builders:
- Past: In the case of business trips, procurement, projects, and so on, in which you need to go through the reimbursement procedures, you have to repeatedly configure multiple nodes and fields involved in a reimbursement workflow, which undoubtedly costs you more money.
- Now: You only need to configure nodes and fields in a reimbursement workflow once through Child Workflow. Then you can easily realize the collaboration between relevant workflows and the reimbursement workflow.
Take the collaboration between a business travel workflow and a reimbursement workflow as an example. You will know how to configure a child workflow.
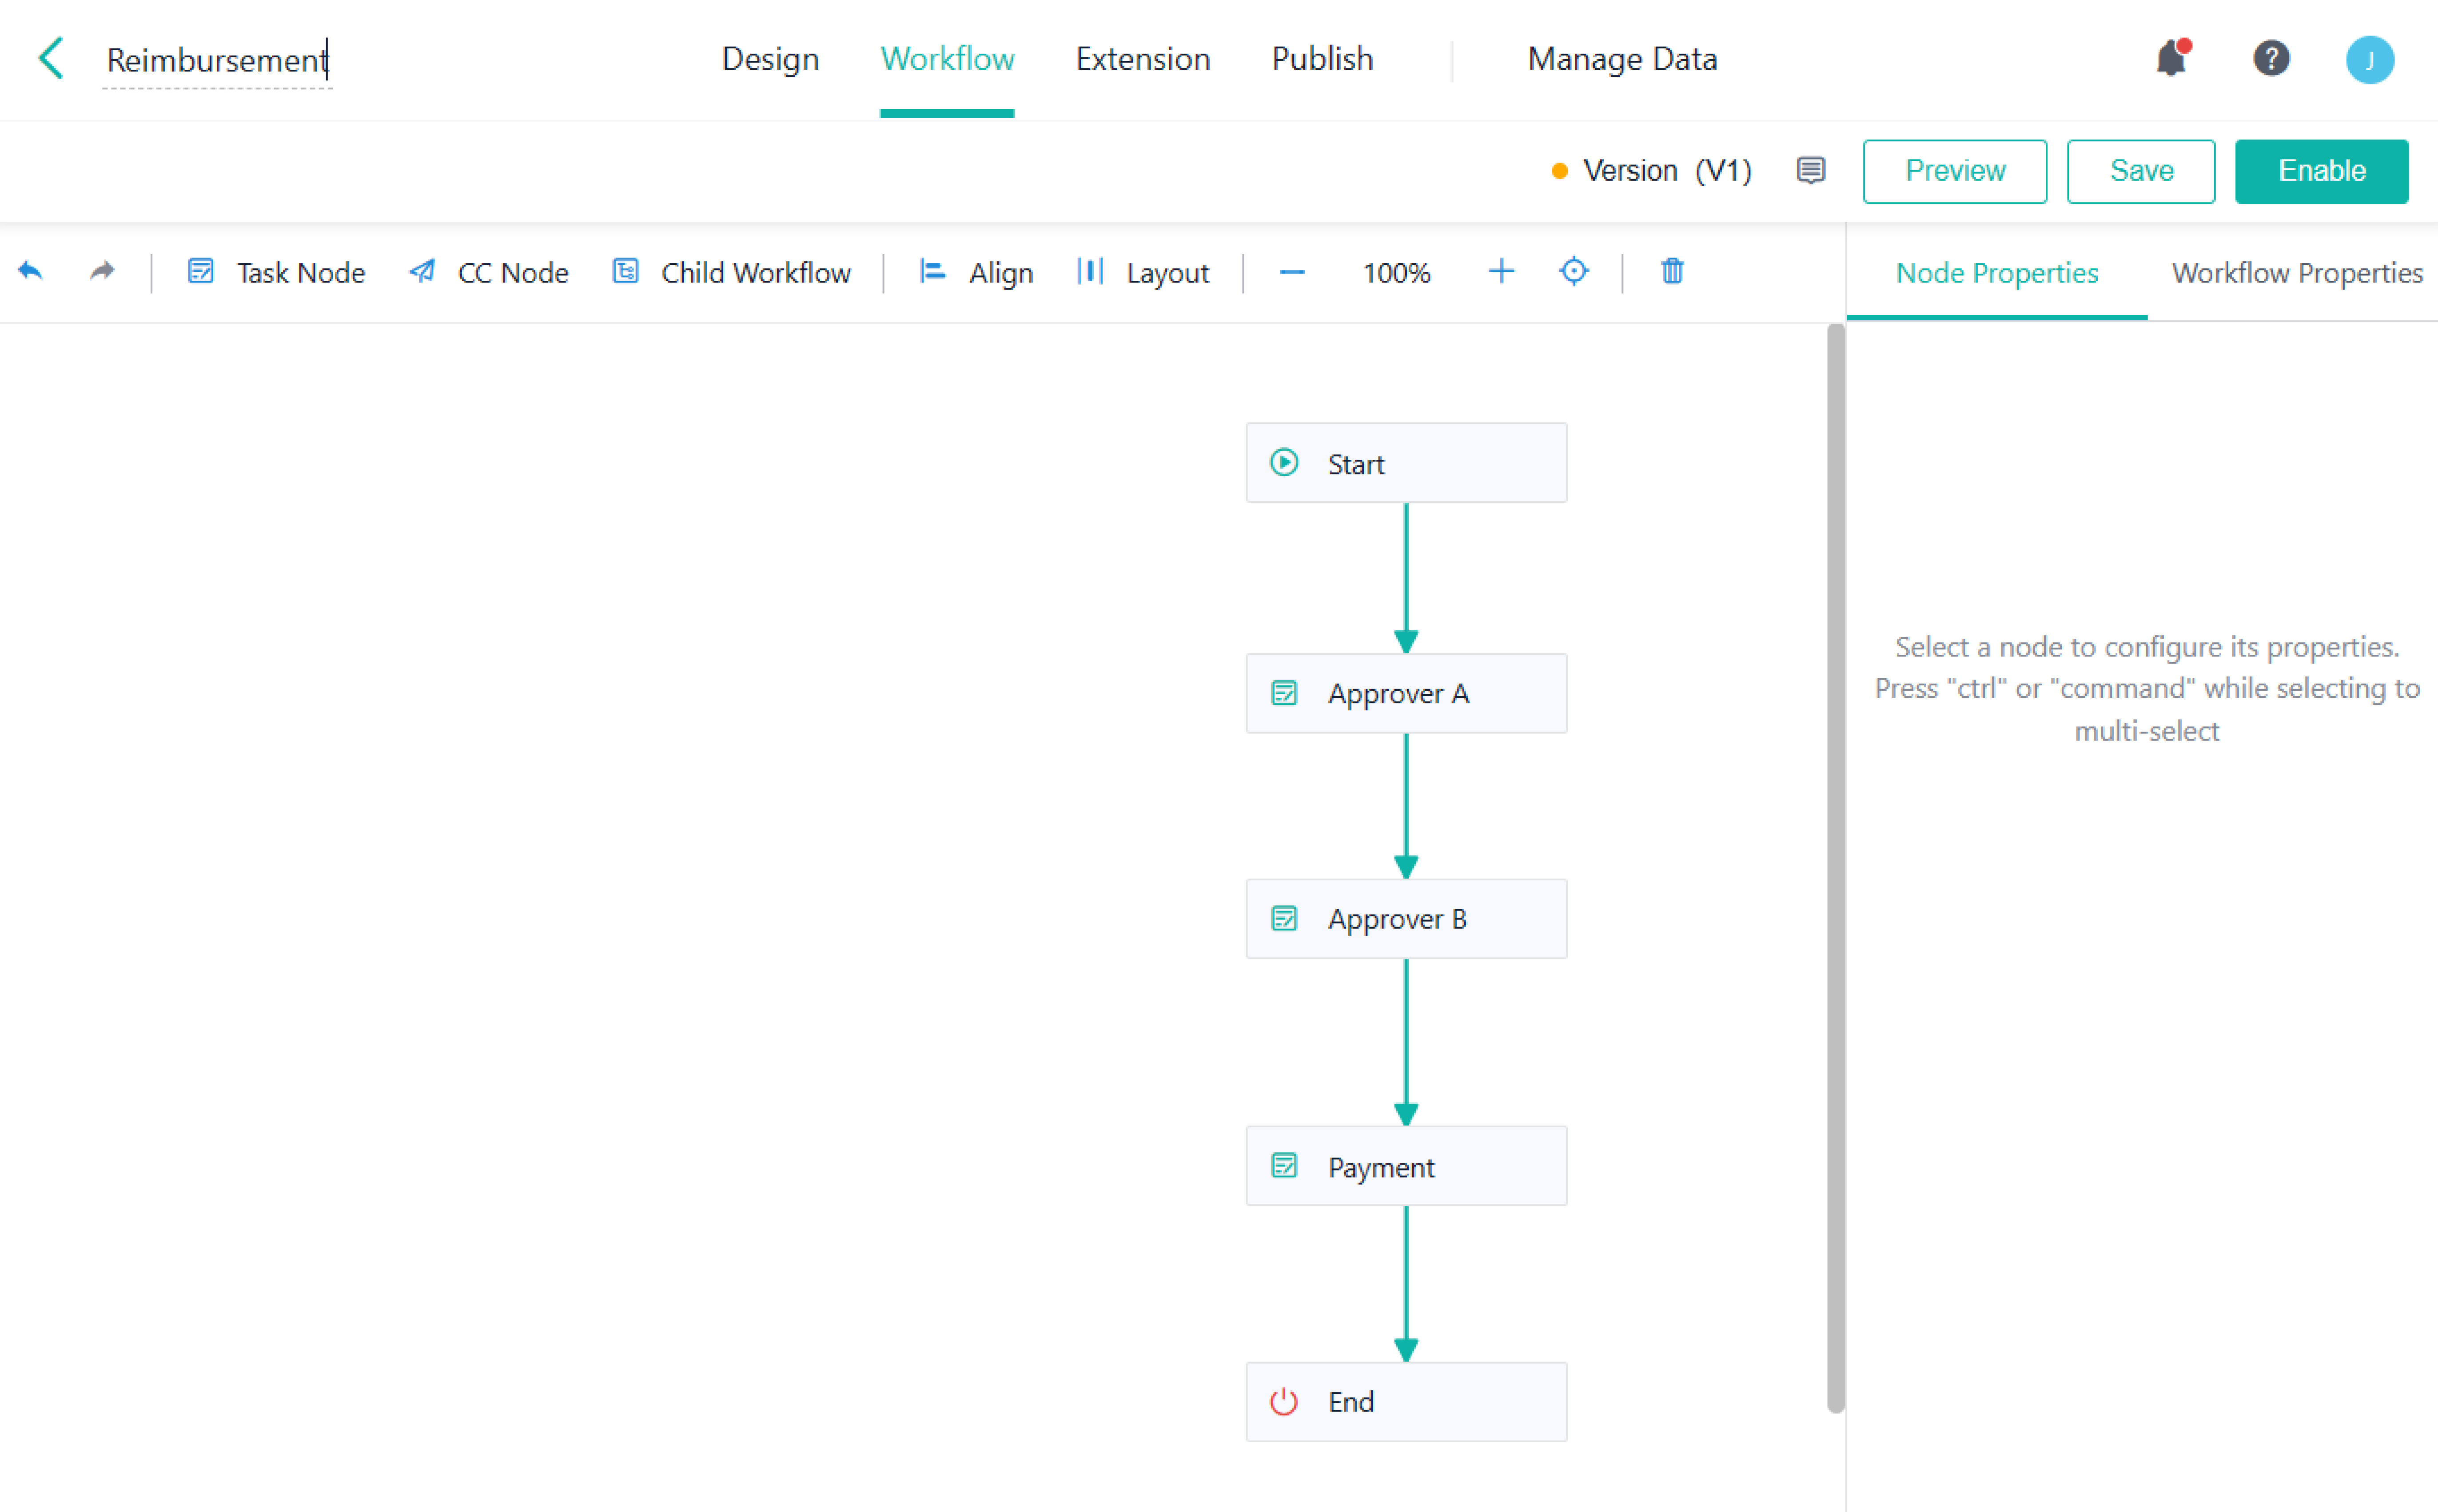
1. After designing a reimbursement workflow, you need to enable the workflow because only the enabled workflow can be selected in the parent workflow.
2. Add a child workflow node in the business trip application workflow. Set the node name to Reimbursement, select Reimbursement from the drop-down list of Form of Child Workflow, and select Workflow Initiator for Child Workflow Initiator.

3. Set Data Transfer. Firstly, set Parent Workflow -> Child Workflow: In the parent workflow, when data flow to the child workflow node, the value of relevant fields in the parent workflow will be automatically assigned to the child workflow.

4. Then set Child Workflow -> Parent Workflow: When the reimbursement in the child workflow is completed, the result (Yes or No) will be written back to the parent workflow. After finishing all the settings, click OK.

5. In Advanced, select The child workflow is initiated in Proceed to the Next Node When. That is, after the child workflow is initiated, the business trip application directly flows to the next node even if the child workflow does not end. Then enable Auto-submit once initiated. If you expect a child workflow to be submitted after it is edited on a start node, you can disable it.

6. The child workflow settings in purchase/project/team building reimbursement are similar to that in the reimbursement workflow.
You can also resort to Automations to reproduce the effect of the following case. However, compared with Automations, there are more advantages in Child Workflow:
- It is more convenient to set a workflow through Child Workflow.
- It is more convenient to maintain a workflow through Child Workflow.
For details, see Child Workflow.