


Where & How to Create Automations
Introduction
This article will show you how and where to create an automation, aiming to help you quickly get started with setting Automations Pro and applying the feature to your business.
Where to Create an Automation
Creating from a Form
1. Select a form, and go to Edit > Extension > Automations.
- If you have never added an automation in the form, click New Automation to create one.
- If you have added automations in the form, filter them based on different criteria such as trigger events or actions. For example, if you choose Filter by Trigger in a form, the system will display all the automations where this form is used as a trigger.
On the Extension page, you can also enable/disable automations, check Trigger History, and edit/copy/delete automations.

Creating from App Management
1. Click Workplace, select an app, and then click App Management.

2. Go to Advanced Features > Automations.
- If you have never created automations in the app, click New Automation to create one.

- If you have already created automations, you can view them based on the trigger type/name/Triggering Form/Triggered Form/Status. You can also edit, copy, delete, enable/disable them, and view their Trigger History. For details, see Managing Automations Pro.

How to Create an Automation
In a business process, a trigger is required to start an automation. You can add a trigger node, at which trigger events occur, and add several action nodes, at which your tasks will be handled based on your settings.
Configuring Trigger Node
Trigger Node refers to the node that starts an automation. At the node, you can set up trigger events and the trigger time to determine when to trigger the automation. For example, trigger the automation when you add records in the form or you reach a specified date/time.
For a trigger node, you can choose a trigger type and a trigger event. Note that, if you choose Scheduled Trigger, you have to set Trigger Time instead of trigger events.
1. Choose a trigger type.
Choose the appropriate trigger type based on your needs because, for different types, the configurations for Trigger may be different.
Trigger Type | Supported Trigger Event |
When trigger events concerning forms/workflow forms occur and certain conditions are met, Automations Pro will be triggered. Here are the supported events:
| |
Here are the two options available to set the trigger time:
After the settings, Automations Pro will run at the frequency you set. | |
Automations Pro is triggered when the specified URL receives third-party data. | |
Automations Pro is triggered when clicking custom buttons.
|
Create an automation and choose a trigger type.

Clic OK. Then you will be directed to the design page to set up subsequent nodes.
2. Configure the trigger node.
Click the trigger node and configure the trigger events. You can choose multiple trigger events if needed.
For example, choose the Add record event.

Adding & Setting Action Node
Action Node refers to the node at which actions are performed or various tasks are handled, such as data processing, query, calculation, and plugin calling.
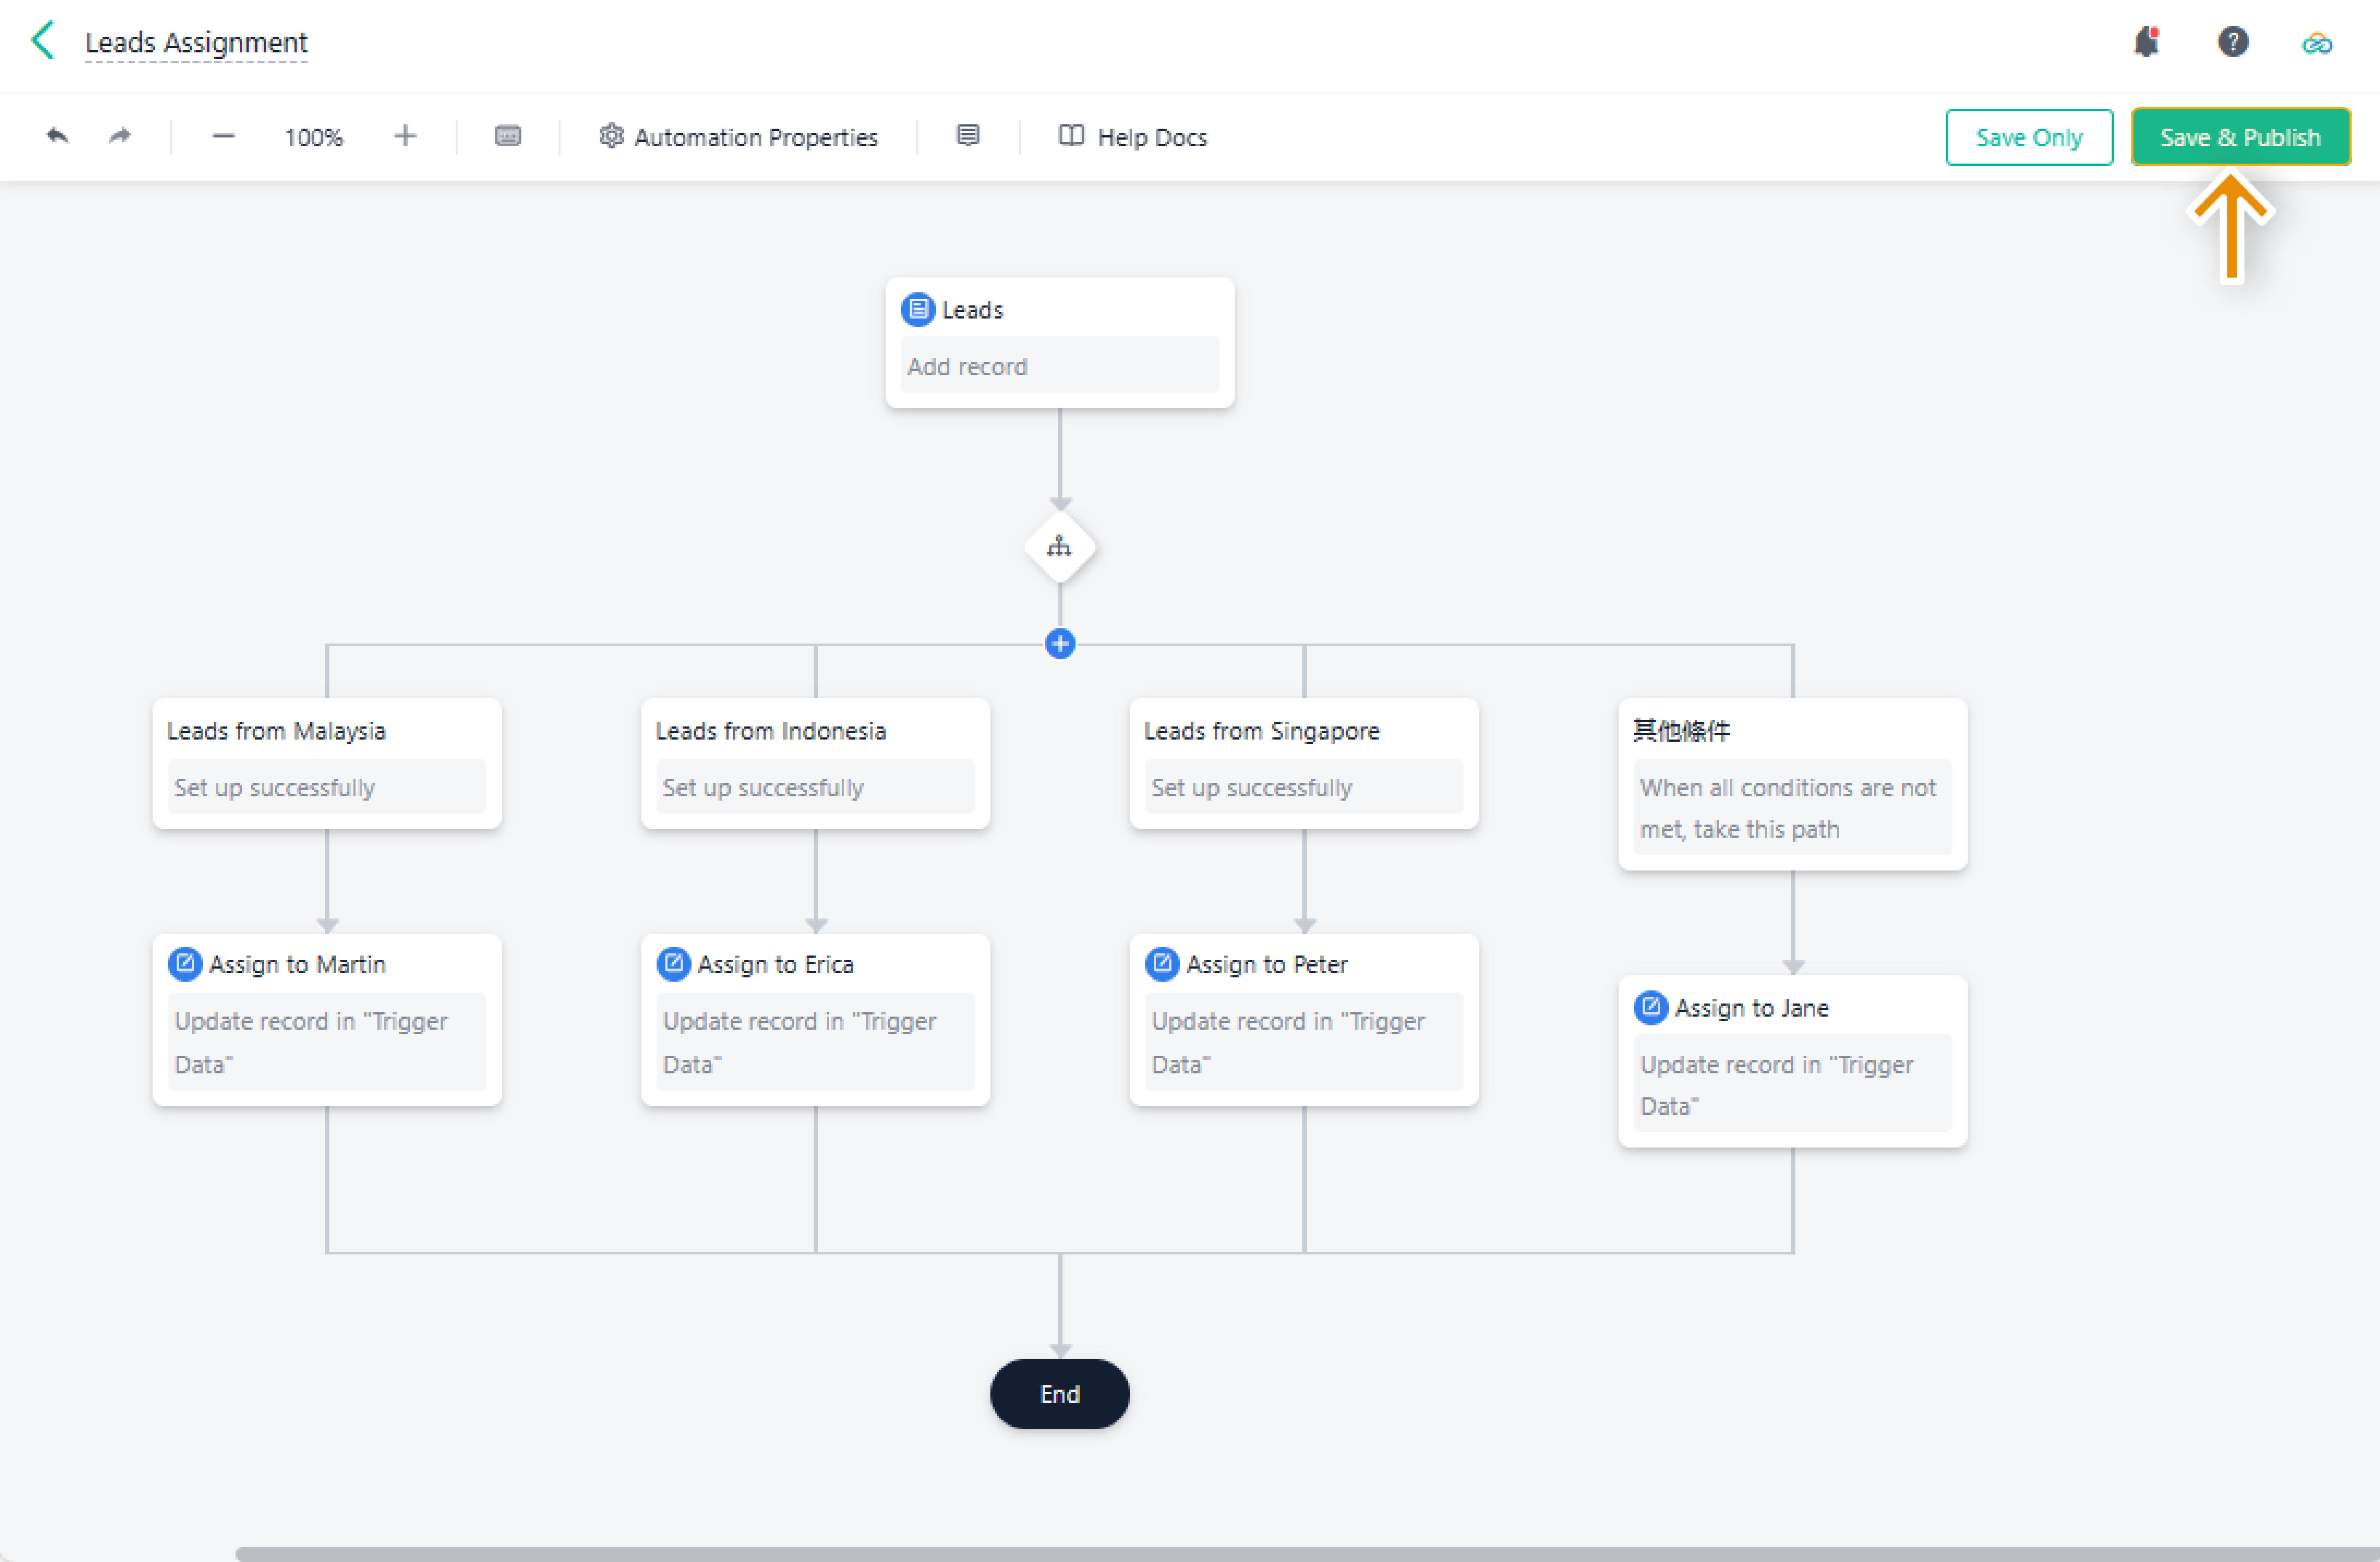
Click to add action nodes. You can add paths to ensure your tasks are handled in the order you expected.
Here are the supported action nodes:
Action Node | Description |
Add record | Add one or more records in the target form based on custom value or the data stored at preceding nodes. |
Update record | Update the records obtained at preceding nodes or the existing records in the target form that meet the conditions. If no record is not found, directly add new records. |
Delete record | Delete the records obtained at preceding nodes or the existing records in the target form that meet the conditions. |
Query record | Query one record in the target form, which can be used at the subsequent nodes. |
Query records | Query multiple records in the target form, which can be used at the subsequent nodes. |
Add path | Add multiple paths in an automation. Then Automations Pro will perform different tasks according to different conditions. |
Add formula | Add formulas and calculate the data stored at the preceding nodes. The result can be used at the subsequent nodes. |
Add plugin | Call plugins to convert, process, and validate data, and send notifications. The result can be saved and used at the subsequent nodes. |

Saving & Enabling Automations Pro
Through the steps above, you have basically finished the design of your business process. Remember to click Save & Enable to make Automations Pro run under current design.
Notes
1. Automations Pro and Automations do not trigger each other.
For example, in the Form A, you choose Add record as a trigger event via Automations, and choose Add record as an action event via Automations Pro. If Automations Pro performs an action (adding a record) upon the Form A, Automations will not be triggered.
2. In Automations Pro, trigger events concerning workflow forms are introduced. When you make changes to workflow status and workflow form data, Automations Pro will be triggered separately.
- Update data only: If there is only a change in the workflow form data, Automations Pro will be triggered once specifically for this data update.
- Change workflow status only: If the change pertains only to the status of the workflow, Automations Pro will be triggered once for this status change.
If you make changes to both workflow form data and the workflow status simultaneously, Automations Pro will be triggered twice. The automation with the Update record event will be triggered first, followed by the automation with the workflow-status-related events (including Workflow ends and Workflow flows to next node).
3. Due to issues such as network fluctuations and queue congestion, Automations Pro may not run as expected. In such cases, you can check the cause of the failure in Trigger History to understand what went wrong. Based on these insights, you can then make the necessary adjustments to your automation design to prevent future issues.