


How to Integrate Jodoo with Other Platforms Using Zapier?
Zapier is just like a bridge, which can connect Jodoo with other platforms to achieve automation. In this article, we use Slack as an example to illustrate. Let's say we want Slack to send a message to remind us of every time we receive a task in Jodoo. How can we make this come true? Well, let's dive into the following steps to explore how.
Prerequisite
Before creating Zaps to connect Jodoo with other platforms, you need to connect your Jodoo account with Zapier. If you haven't, click here to see how to do.
How to Integrate Jodoo with Other Platforms Using Zapier?
Step 1 Creating a New Zap
a. On the top left corner of the Zapier dashboard, click +Create and then click Zaps to go to the My Zaps page.
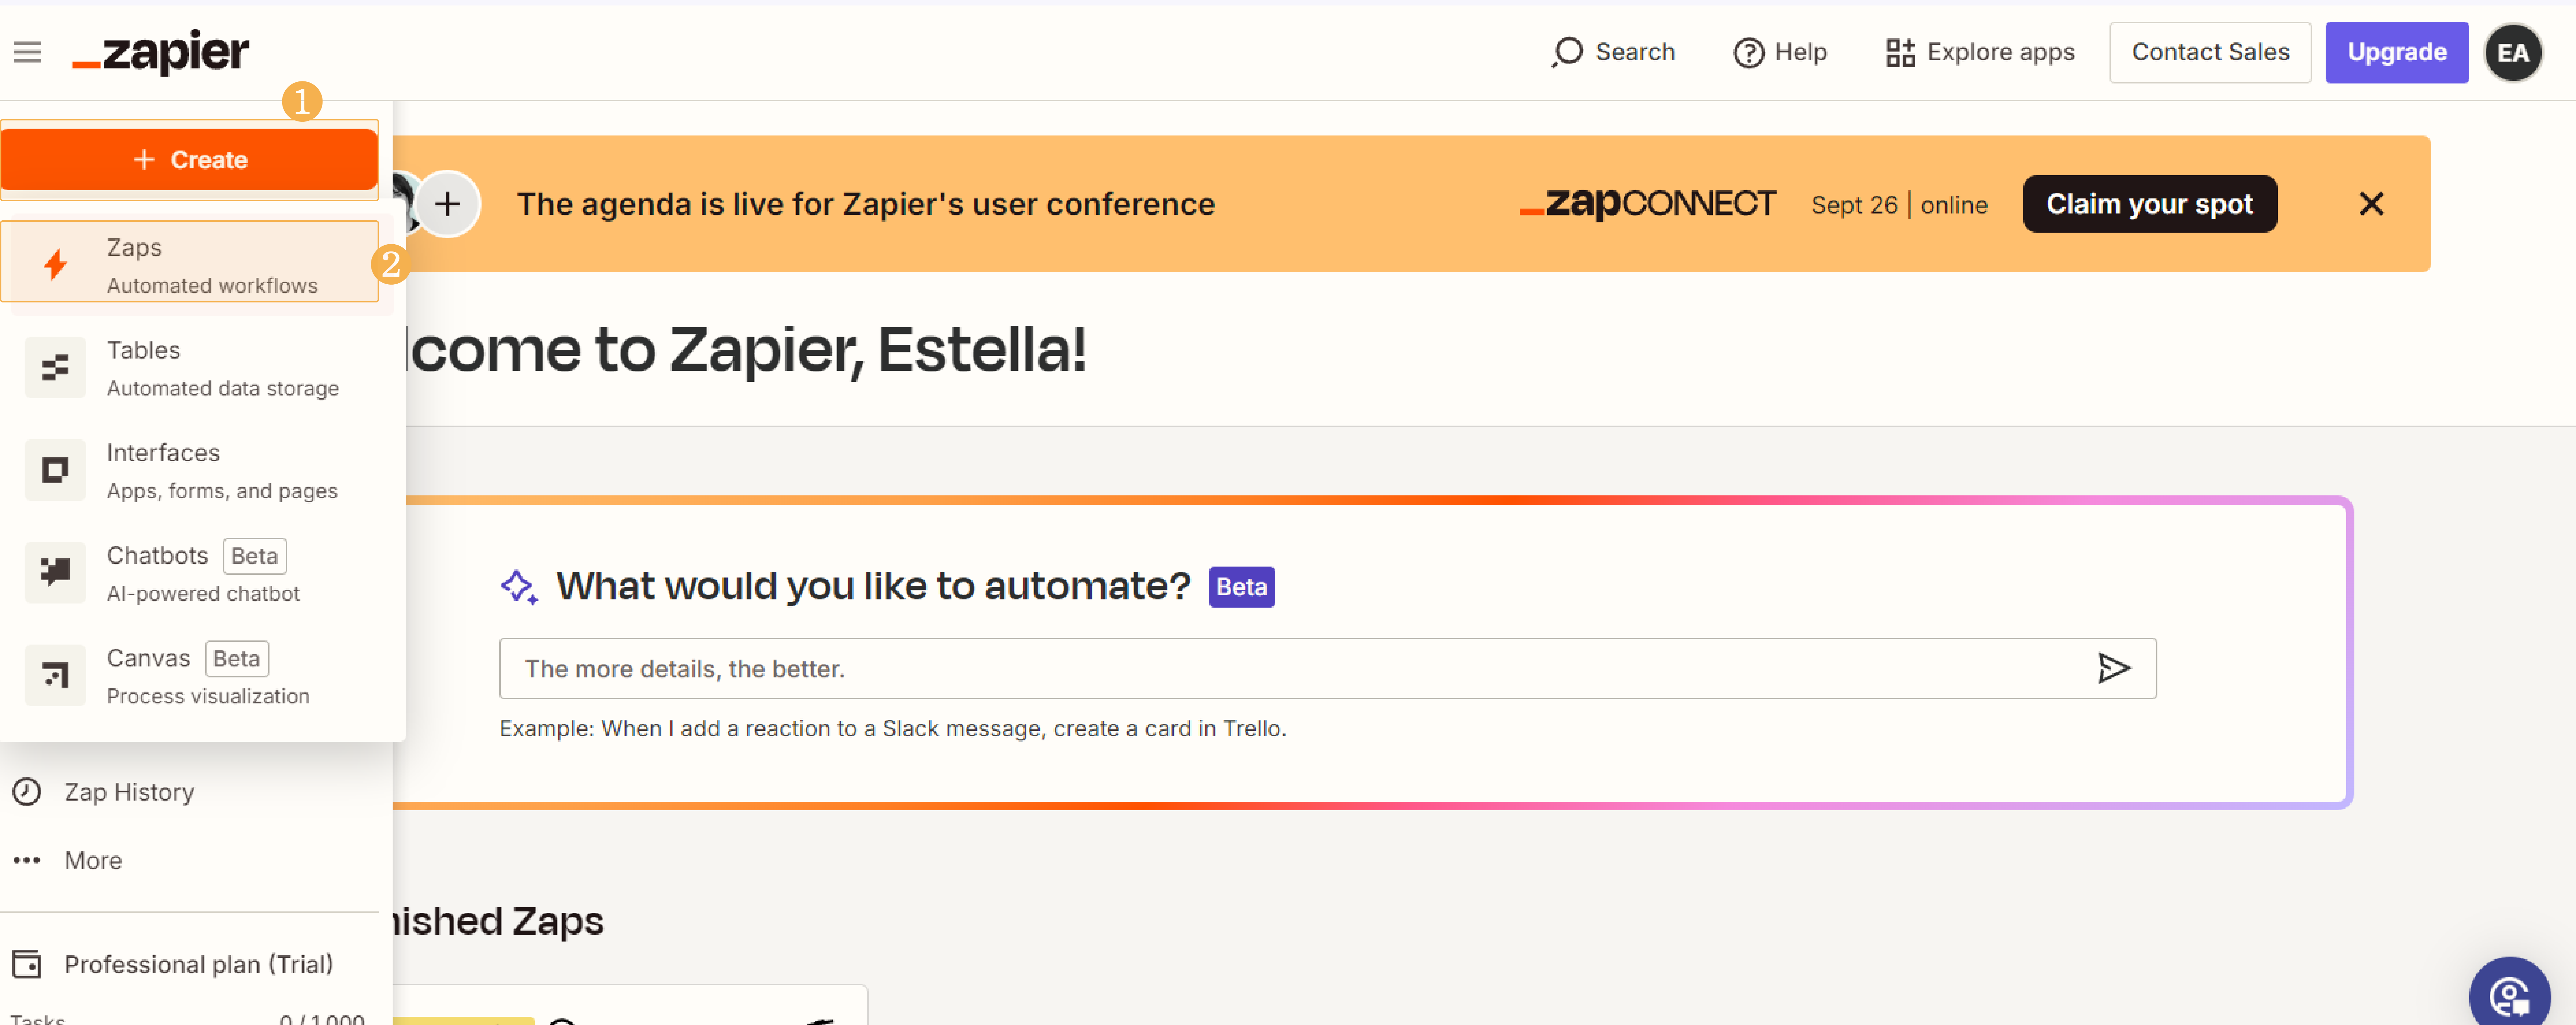
b. On the My Zaps page, after clicking +Create and then New Zap, you will be directed to the Zap editor page where you can configure your new Zap.

Step 2 Configuring your Trigger
1. Setup
a. Click Trigger on the Zap editor page and you'll be prompted to pick an app as your trigger. You'll see the apps you use most frequently, built-in apps from Zapier, and popular apps. Select Jodoo from the list.

b. Next, you'll be asked to choose a trigger event. This is the event that happens in your trigger app that signals Zapier to start your Zap. In this case, it is New task.

c. After setting the trigger event, you need to choose your account. Click Select and you'll be prompted to sign into your app account if you haven't connected it before. Once you've connected your app, select the account you want to use with your Zap.

2. Configure
After choosing the trigger event and account, you click Continue to configure the trigger. On this page, you'll be asked to enter Username.

Username refers to the User No. in Jodoo, which you can find by clicking Contacts > Management > No.. You can copy your No. and paste it in Zapier.

After entering the Username in Zapier, click Continue to the Test page, where you can test whether your trigger is set up properly.
3. Test
Once you've set up your trigger, you need to test it to ensure it works. When you click Test trigger, Zapier will look for data that already exists in your trigger app account and pull that information into the Zap editor. If there are no tasks found, you will be reminded to go to Jodoo to create a task in your account and go back to test again. If Zapier found records in your account, it will list all the tasks, and you can select the one you want to test.

Then click Continue with Selected record. The Zap editor will take you to set up the action step of your Zap.
Step 3 Configuring your Action
1. Setup
The action is the DO part of your automation. Actions are the events you want your Zap to perform after your trigger occurs. Without an action, you don't have a complete Zap.
a. Just like you did with your trigger, select your action app. In our example, we choose Slack.

b. Once you've selected your app, choose your action event—which is what you want your Zap to do—in the dropdown menu. There are many options and in this case we choose Send Direct Message.

c. Then click Sign in to connect your Slack account with Zapier. Enter your workspace's URL in the pop-up window and click Continue. If you don't have a Slack account, click here to create one.

After connecting the Slack account, click Continue to move to the Configure page.
2. Configure
On the Configure page, there are many fields. By filling in these fields, you get your information from Jodoo to Slack, and tell Zapier what information from your trigger app should be sent to which place in your action app.
Among these fileds, To Username and Message Text are required. To Username refers to whom you want Slack to send a message to. In this case, it should be your Slack account. Message Text refers to the content of the message Slack send. You can click button to select the information you want to add to the Message Text field. Think of it like multiple choice: You can select one option or several and can add custom text.
And for those fields which are not labeled as "required", you don't have to add an option.

After you've set up your action, it’s time to test your Zap. Click Continue to the Test page.
3. Test
Just like what you did with your trigger, you also need to test whether the action is set up properly. Click Test step and Zapier will send a message based on the fields you set to your Slack account. You can go through the fields you set in the Data in section.

When you see "A Message was sent to Slack about 4 seconds ago", that means the test is successful.

It's always good practice to go to your action app to double-check check your how the message looks. You can navigate to your Slack dashboard to check the message sent by Zapier. You can find the new message in Apps on the left sidebar.

If something doesn't look right, you can make any changes you need in the Zap editor and test your Zap again. Once you're happy with how your Zap works, click Publish and the Zap will be turned on.

Congratulations! By now, you've already configured your Zap to connect Jodoo with Slack. Anytime you receive a task in Jodoo, you will get a message in Slack to remind you.
What Triggers and Actions Jodoo supports?
Jodoo can act as either the Trigger app — the system that initiates an action — or the Action app — the place where the end action occurs. The following is the list to show the triggers and actions Jodoo supports in Zapier.
Event | Function | |
Triggers | New Record or Workflow | Triggers when a new record or workflow is created. |
New Task | Triggers when a new task of a specified user is received. | |
Actions | Create Record | Creates a record or initiates a workflow in the form. |
Update Record | Updates the values of specific fields in a record. | |
Submit Task | Submit the user’s task. | |
Find Record | Finds a Record in the form with the Data ID. The Instance ID equals the Data ID when the record is in a workflow form. | |
Find Records | Finds multiple records in the form and filters a specific record with fields’ values. | |
Delete Record | Deletes a record by specifying the Data ID. The Instance ID equals the Data ID when the record is in a workflow form. |
I have finished reading. 🏆
👉I can't wait to Try it for myself.
👉I need more HELP in Discord Forum.