


Managing Forms
This passage will tell you how to manage your forms in details.
What is Form Management?
In an App, an admin who has permissions to manage the App can edit and configure forms in many ways. Form management includes operations like editing, deleting, copying, sorting and so on.
Prerequisite
- To configure basic settings for forms, you should get permissions first. Only admins who have permissions to manage Apps can configure forms. Members can only visit the permitted forms and dashboards.
- To set up continuous printing, you must build a form first. If you haven’t done these, you can build your own or follow the steps below to build a form.

What Actions can I Do when Managing Forms?
Adding a New Form
1. Add to Apps with data.
If an App already has forms and dashboards, click beside the search bar and add new forms in the following ways:
- Create from Scratch: design a form from scratch.
- Create from Excel: import an Excel file with existing data.

2. Add to Apps with no data.
If the App is empty, you will see the following page. Then you can click New Workflow Form or New Form to add forms.

Editing a Form
You can go to the form design page and edit forms through the following two ways:
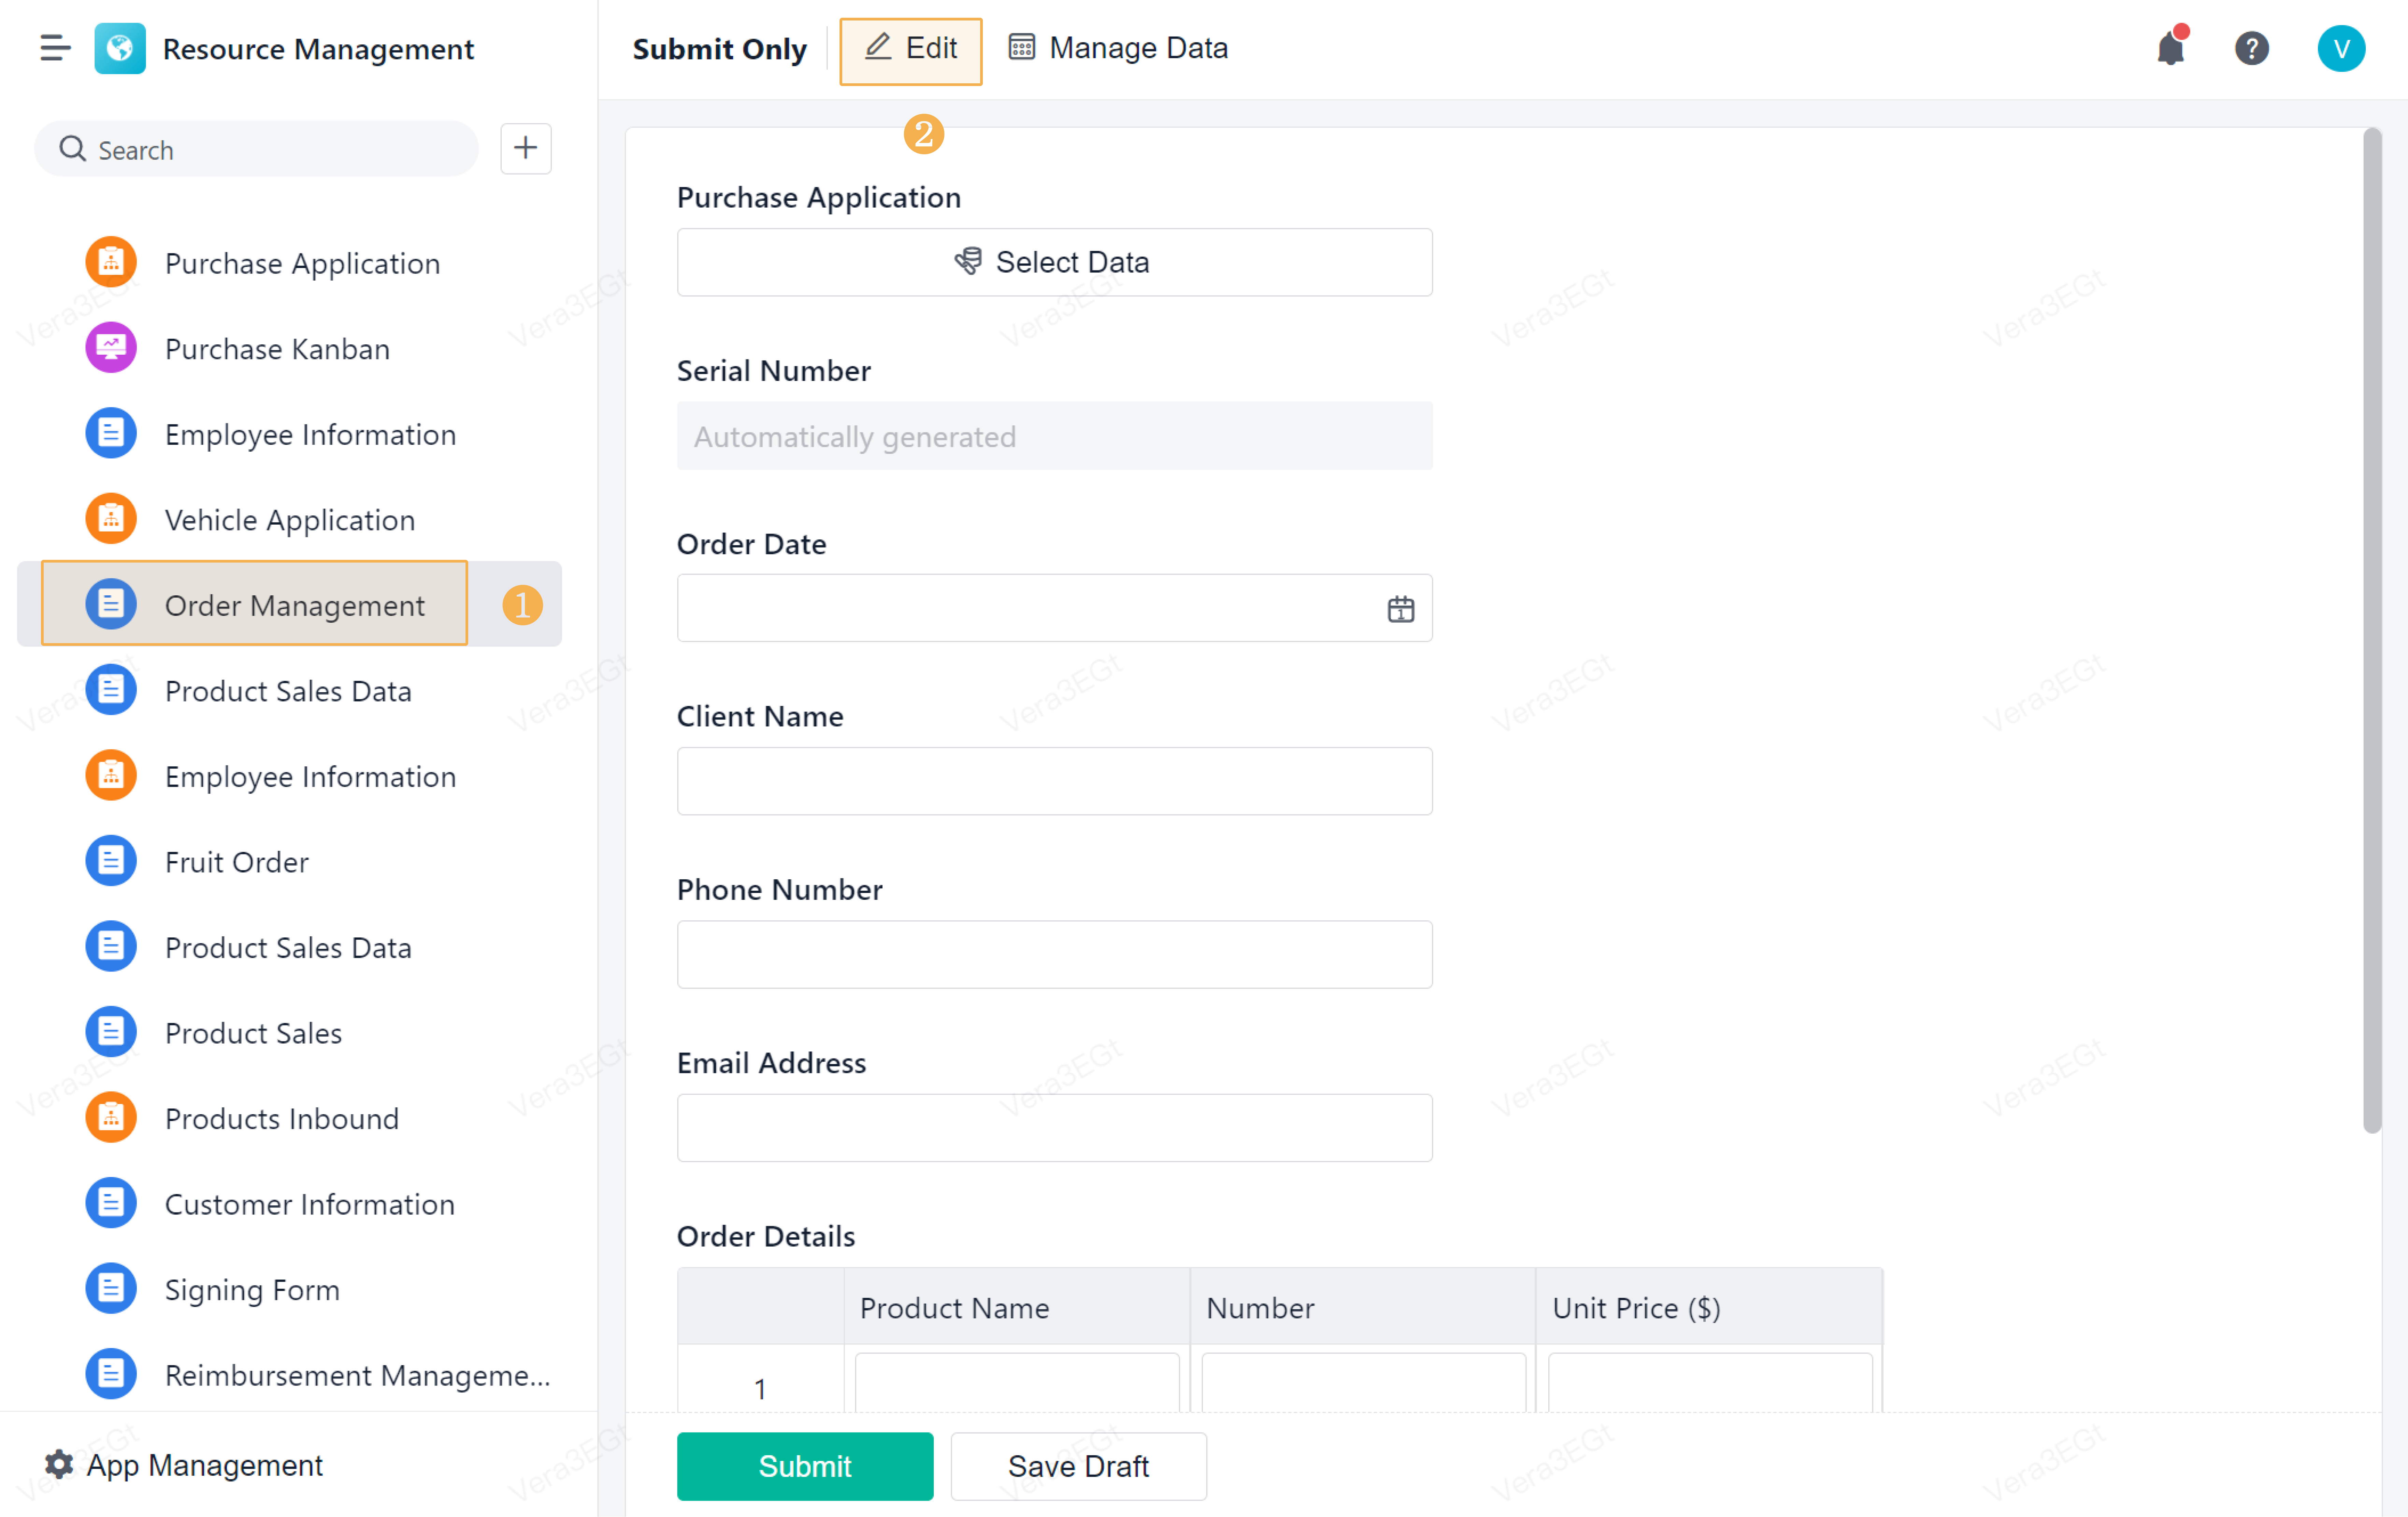
1. Click beside the form and click Edit.

2. Select the form you want to edit and click Edit at the top of the page.
Note:
Only members with the App managing permission can edit forms.
Renaming a form
If you want to rename a form, click beside the form and then click Edit Name & Icon. After the settings, click OK.

Copying a Form
By copying a form, you can easily adjust the form to apply in another scenario with the same configuration. You can copy a form to the current App or another App.

Here are the copy rules of forms:
Form Content/Settings | Copy Rule |
Fields and field properties | Copy all fields and field properties. |
Form settings and form properties | Copy form settings and form properties. |
Workflow configuration | Copy all workflow configurations. |
Data collaboration | Copy all configurations. |
Form publish permissions | Only copy views and permission sets. If you copy a permission set, the selected members in the set will not be copied to the new set, but which is turned on by default. |
Dashboard data permission configuration | Do not copy. |
Notifications | Copy all configurations of notifications. Notifications will be turned off after the copy. |
Webhook | Copy all configurations of Webhook. Notifications of Webhook will be turned off after the copy. |
Note:
1. When you copy a form that links fields within itself, fields in the copied form will link to fields in the new form rather than the original form.
2. When you copy a form that links fields from other forms, the copied form will maintain the same field links to the linked forms.
Moving a Form
Click beside the form or folder, and select Move from the drop-down list. Then you can move the form or folder to the target folder.

Sorting Forms
You can move or sort forms and folders by dragging and dropping them. You can also move a form or subfolder out of the current folder.
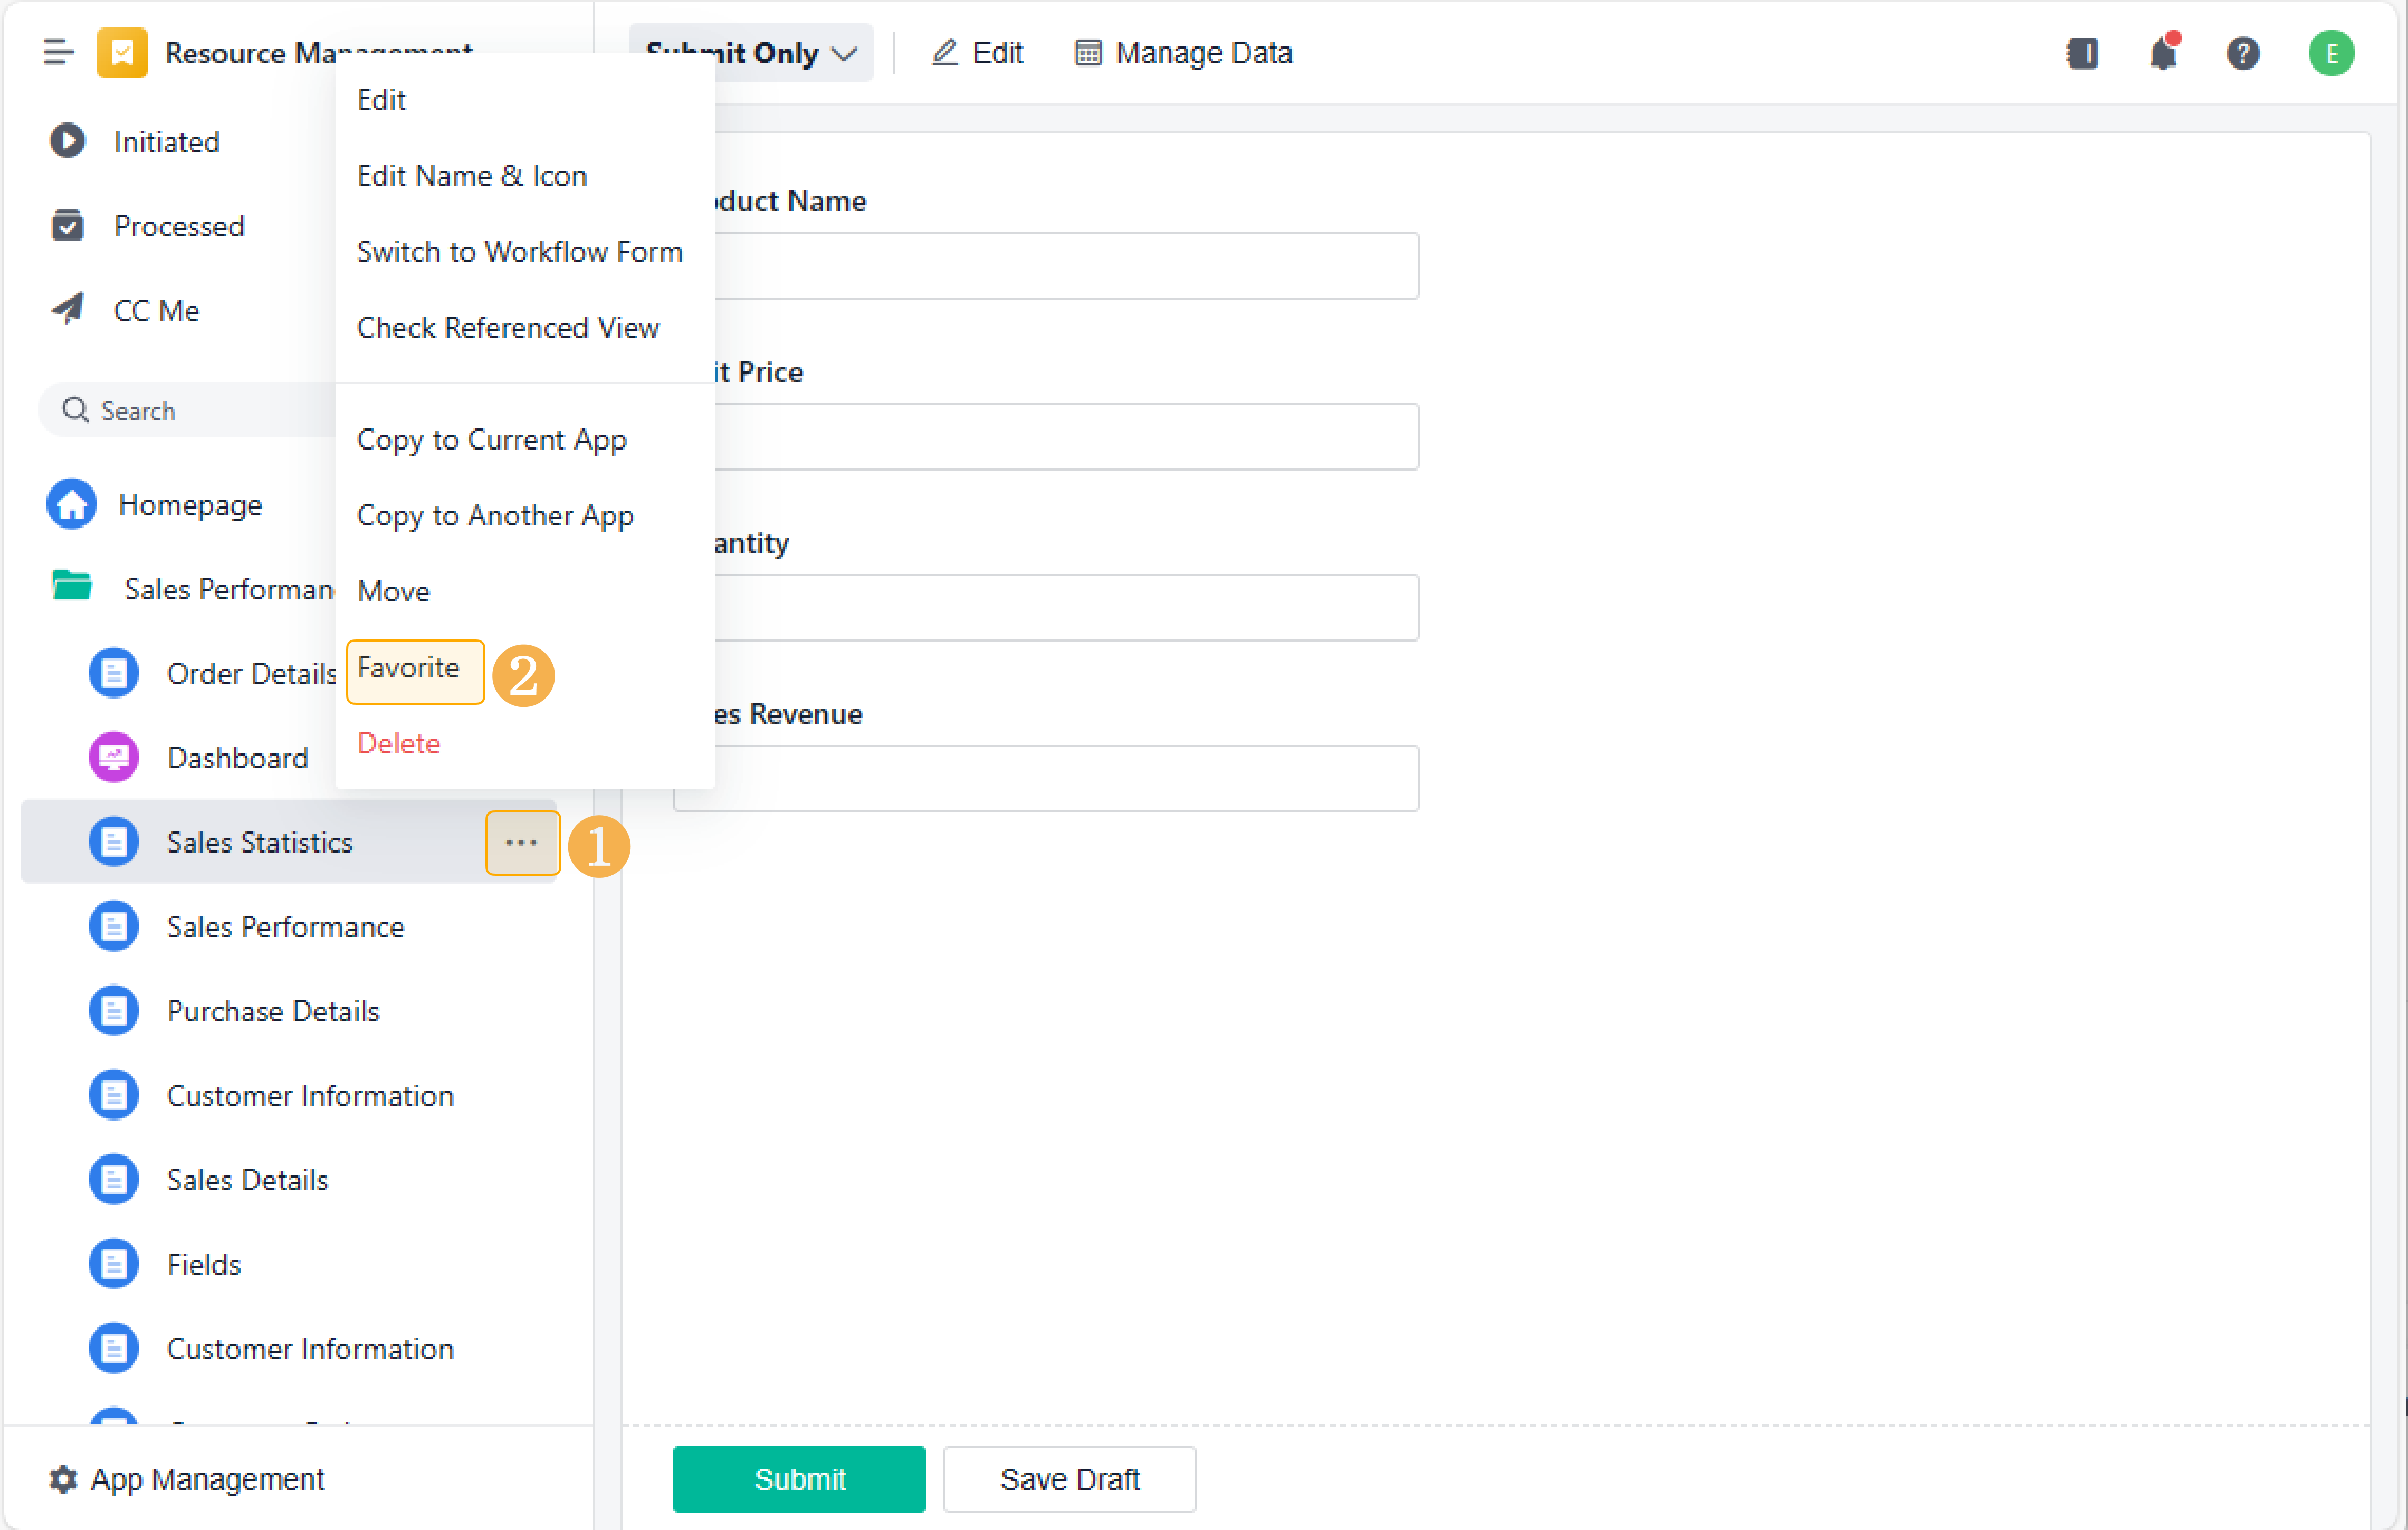
Favoriting a Form
If you need to frequently visit a form/workflow form, click and then Favorite to add the form to the My Favorites group. Then arrange it in Set up Default Workspace, thus facilitating form filling and checking.
Deleting a Form
Here are the deleting rules for forms and folders:
- Deleting form: You need to enter the full name of the form.
- Deleting folder: A folder with data cannot be deleted. You can only delete it when you move all forms/dashboards out of the folder.

When a form is referenced by other forms through the following features, you can click View Details to see the reference list when deleting the form. This helps to avoid affecting other business processes.
- Option: Lookup
- Data Linkage: linkage condition and linkage field
- Formula: referenced fields
- Query Data: display fields and filter conditions
- Select Data: display fields, filter conditions, and data filling
- Front-End Event: triggered field, response value – response field, and header/body – header/body field
- Automations Pro: trigger node and action nodes
- Automations: triggering form and target form.
- Permission Set: data permission

Restoring a Form
If your form is deleted by mistake, you can initiate a request to contact our Support Team for paid restoration.
Checking Form Referenced View
In some complex scenarios, a form is usually connected with other features to facilitate data collaboration. Referenced View lets you see how the form is associated with other features, thus allowing you to better manage the data.
Click beside the form and click Check Referenced View from the drop-down list.

In Referenced View, you can see the Reference Relationship with the current form through the connection lines. You can zoom in and out of the view with the touchpad and mouse or by clicking the zoom button in the upper right corner.

Note:
1. Bidirectional arrows in a reference view indicate mutual referencing relationship.
2. On the left side of the current form, the system showcases items that are referenced by the form. The display is capped at a maximum of 100 items, with a specific limit of 50 for workflow forms. Moving to the right side, the system exhibits those that reference the current form, with a maximum display limit of 50.
- View Reference Details
Reference Details shows how a feature is associated with another feature. In Referenced View, you can query the following reference details:
Feature that References Data | Feature that is Referenced | Reference Relationships that Support Querying |
Form | Form |
|
Aggregate table | Form |
|
Data stream | Form |
|
Automations Pro | Form |
|
Automations | Form |
|
Form | Aggregate table |
|
Form | Data stream |
|
The number on the connecting line represents the number of references between the two features. You can click the number to view the reference details.

- Where to Edit
In Referenced View, click beside the feature name to go to the editing page. On the detailed page, you can see how the form is referenced and adjust the settings.

Modifying the Form Icon
Click beside the form and then click Edit Name & Icon. Click the icon to choose another icon from the drop-down list.

Switching Form Types
Regular forms allow you to collaborate on the collected data, and workflow forms allow you to transfer data to different approvers for review. You can switch between the two types according to your needs.
Click beside the form and click Switch to Workflow Form or Switch to Regular Form.

Adding New Folder
When there are too many forms in your App, you can add a folder. Then, you can manage your forms in categorized groups.
1. Create a folder.
Click and select New Folder from the drop-down list. Rename the folder and click OK.

2. Rename a folder.
If you want to rename a folder, click beside the folder and then click Rename. After renaming the folder, click OK.

3. Create a subfolder.
Click beside the folder where you want to create a subfolder and select New Subfolder from the drop-down list.

4. Add new forms in a folder.
Click beside the folder where you want to create a form and select New Form or New Workflow Form from the drop-down list.

I have finished reading. 🏆
👉I can't wait to MANAGE MY FORMS.
👉I need more HELP in Discord Forum.