


Single Select
This passage will walk you through the basic functions of the Single Select Field.
What is the Single Select Field?
For the Single Select field, you can select one option from the drop-down list.

Demonstration
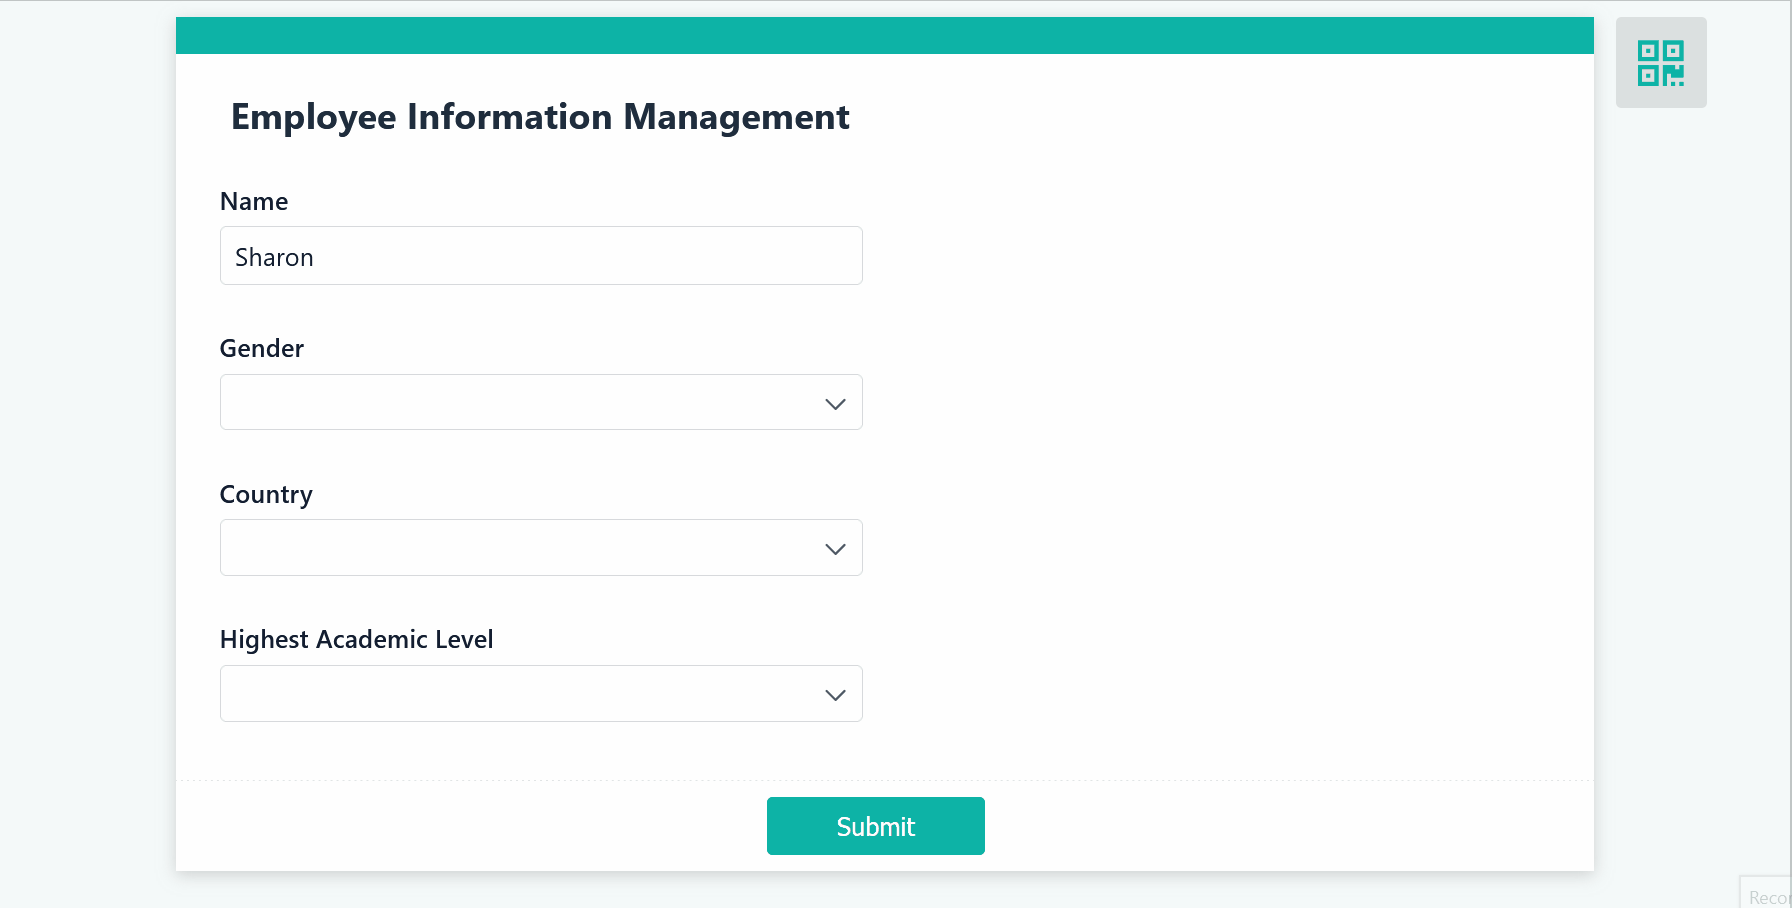
In employee information management, you can collect information like gender, country, highest academic level, and so on through the Single Select field.
Setting Field Properties
Switching Field(s)
Single Select can be switched with Radio and Single Line.

Setting Options
Three options can be set in Single Select: Custom, Lookup, and Data Linkage.
1. Custom
Click Custom, then you can input options manually.
a. Adding/sorting/deleting options.
- Add options: Click Add to add and edit new options.
- Sort options: hold
and drag it to sort options.
- Delete options: click
to delete the option.

b. Colorful
Enable Colorful to select colors for labeling different options and distinguishing them. You can click the color to switch or add colors by Custom.

c. Set a default option.
Tick the button before the option that you want to set as the default value.

d. Add "Other"
Click Add "Other" to add an Others option to the drop-down list. Tick this option and you can input data in the textbox.

Note:
The textbox behind the Others option is optional.
e. Batch
Batch is used to add multiple options quickly. Click Batch and input options to be added. Each line corresponds to one option. Click OK after the settings.

2. Lookup
Lookup is used to retrieve data of one field from other forms as options of the Single Select field.
a. Click Lookup and select a field of other forms. For specific setting rules, see Lookup.

b. Sort Options
Lookup supports sorting options, and the sorting rule has two parts:
- Sorting fields: you can select the following sorting fields.
- The value of the current option.
- Form fields: Single Line, Number, Date&Time, Radio, Single Select, and Serial No.
- System fields: Created Time, Updated Time, and URL Parameter.
- Sorting order: You can sort options in ascending or descending order.
The default rule is to sort options in ascending order based on the value of the current option.

c. Option Filter
You can also filter the data to limit the available options.

Click Add Condition, and you need to make the following settings:
- Relationship between multiple conditions: When there are multiple conditions, you can set it to filter data when meeting all of or any of the conditions.
- all of: The relationship between multiple filtering conditions is AND, so only options that meet all conditions will be displayed.
- any of: The relationship between multiple filtering conditions is OR, so options that meet any condition will be displayed.
- Field of the related form: Select a field from the related form to add a filtering condition. You can also choose system fields like Created User, Created Time, and Updated Time.
- Data relationship: You need to set the data relationship between the fields of the related form and the required value. The relationship can be set to equals, does not equal, contains, does not contain, is empty, is not empty, equals any, does not equal any, and so on.
- Field value: You can either choose a form field or set a custom value.
After the settings, click OK.

3. Data Linkage
Data Linkage is used to retrieve data that meets certain conditions in other forms as options of the Single Select.
a. Select Data Linkage, click Data Linkage Settings, select a form as Linked Form, and set conditions. For specific setting rules, see Data Linkage.

b. Sort Options
Data Linkage supports sorting options in two ways:
- By option value: Ascending/Descending
Data is sorted by number or alphabetical order.
- By Created Time: Ascending/Descending
Data is sorted by the created time.

Display Rules
Single Select fields support setting display rules in Field Properties. This allows different form fields to be displayed based on the option selected, making it easier to adjust form contents.
Select the Single Select field, go to Field Properties, and click Settings under Display Rules.

In the pop-up window, you can add display rules. You first need to choose an option, then set the fields to display when the option is selected. Click OK after the settings.

Note:
The rules added in Field Properties will be automatically updated to Field Display Rules in Form Properties and Subform Display Rules.
When to Use Single Select Field?
The Single Select field can be used in the following scenarios:
- In attendance management, you can select different types of leave from the drop-down list.
- In product management, you can record product names, product types, and so on through Single Select fields.
- In employee information management, you can collect information such as nationality, educational background, and so on.
I have finished reading. 🏆
👉I can't wait to APPLY SINGLE SELECT FIELDS.
👉I need more HELP in Discord Forum.