Auto-Assign
Introduction
Feature(s)
In a workflow, Auto-Assign refers to an unfixed approver at a node. The approver may change automatically in different workflows.
Auto-assign includes Workflow Initiator, Member Field, Dept. Field, and Head.
Note:
You can set the member or department field from a subform as an approver.
Application Scenario(s)
- A workflow initiator can select one or more approvers for each node.
- If the initiator's head is set as the approver at a node, the approver will change as the initiator's department changes.
You can make them happen through settings.
Preview
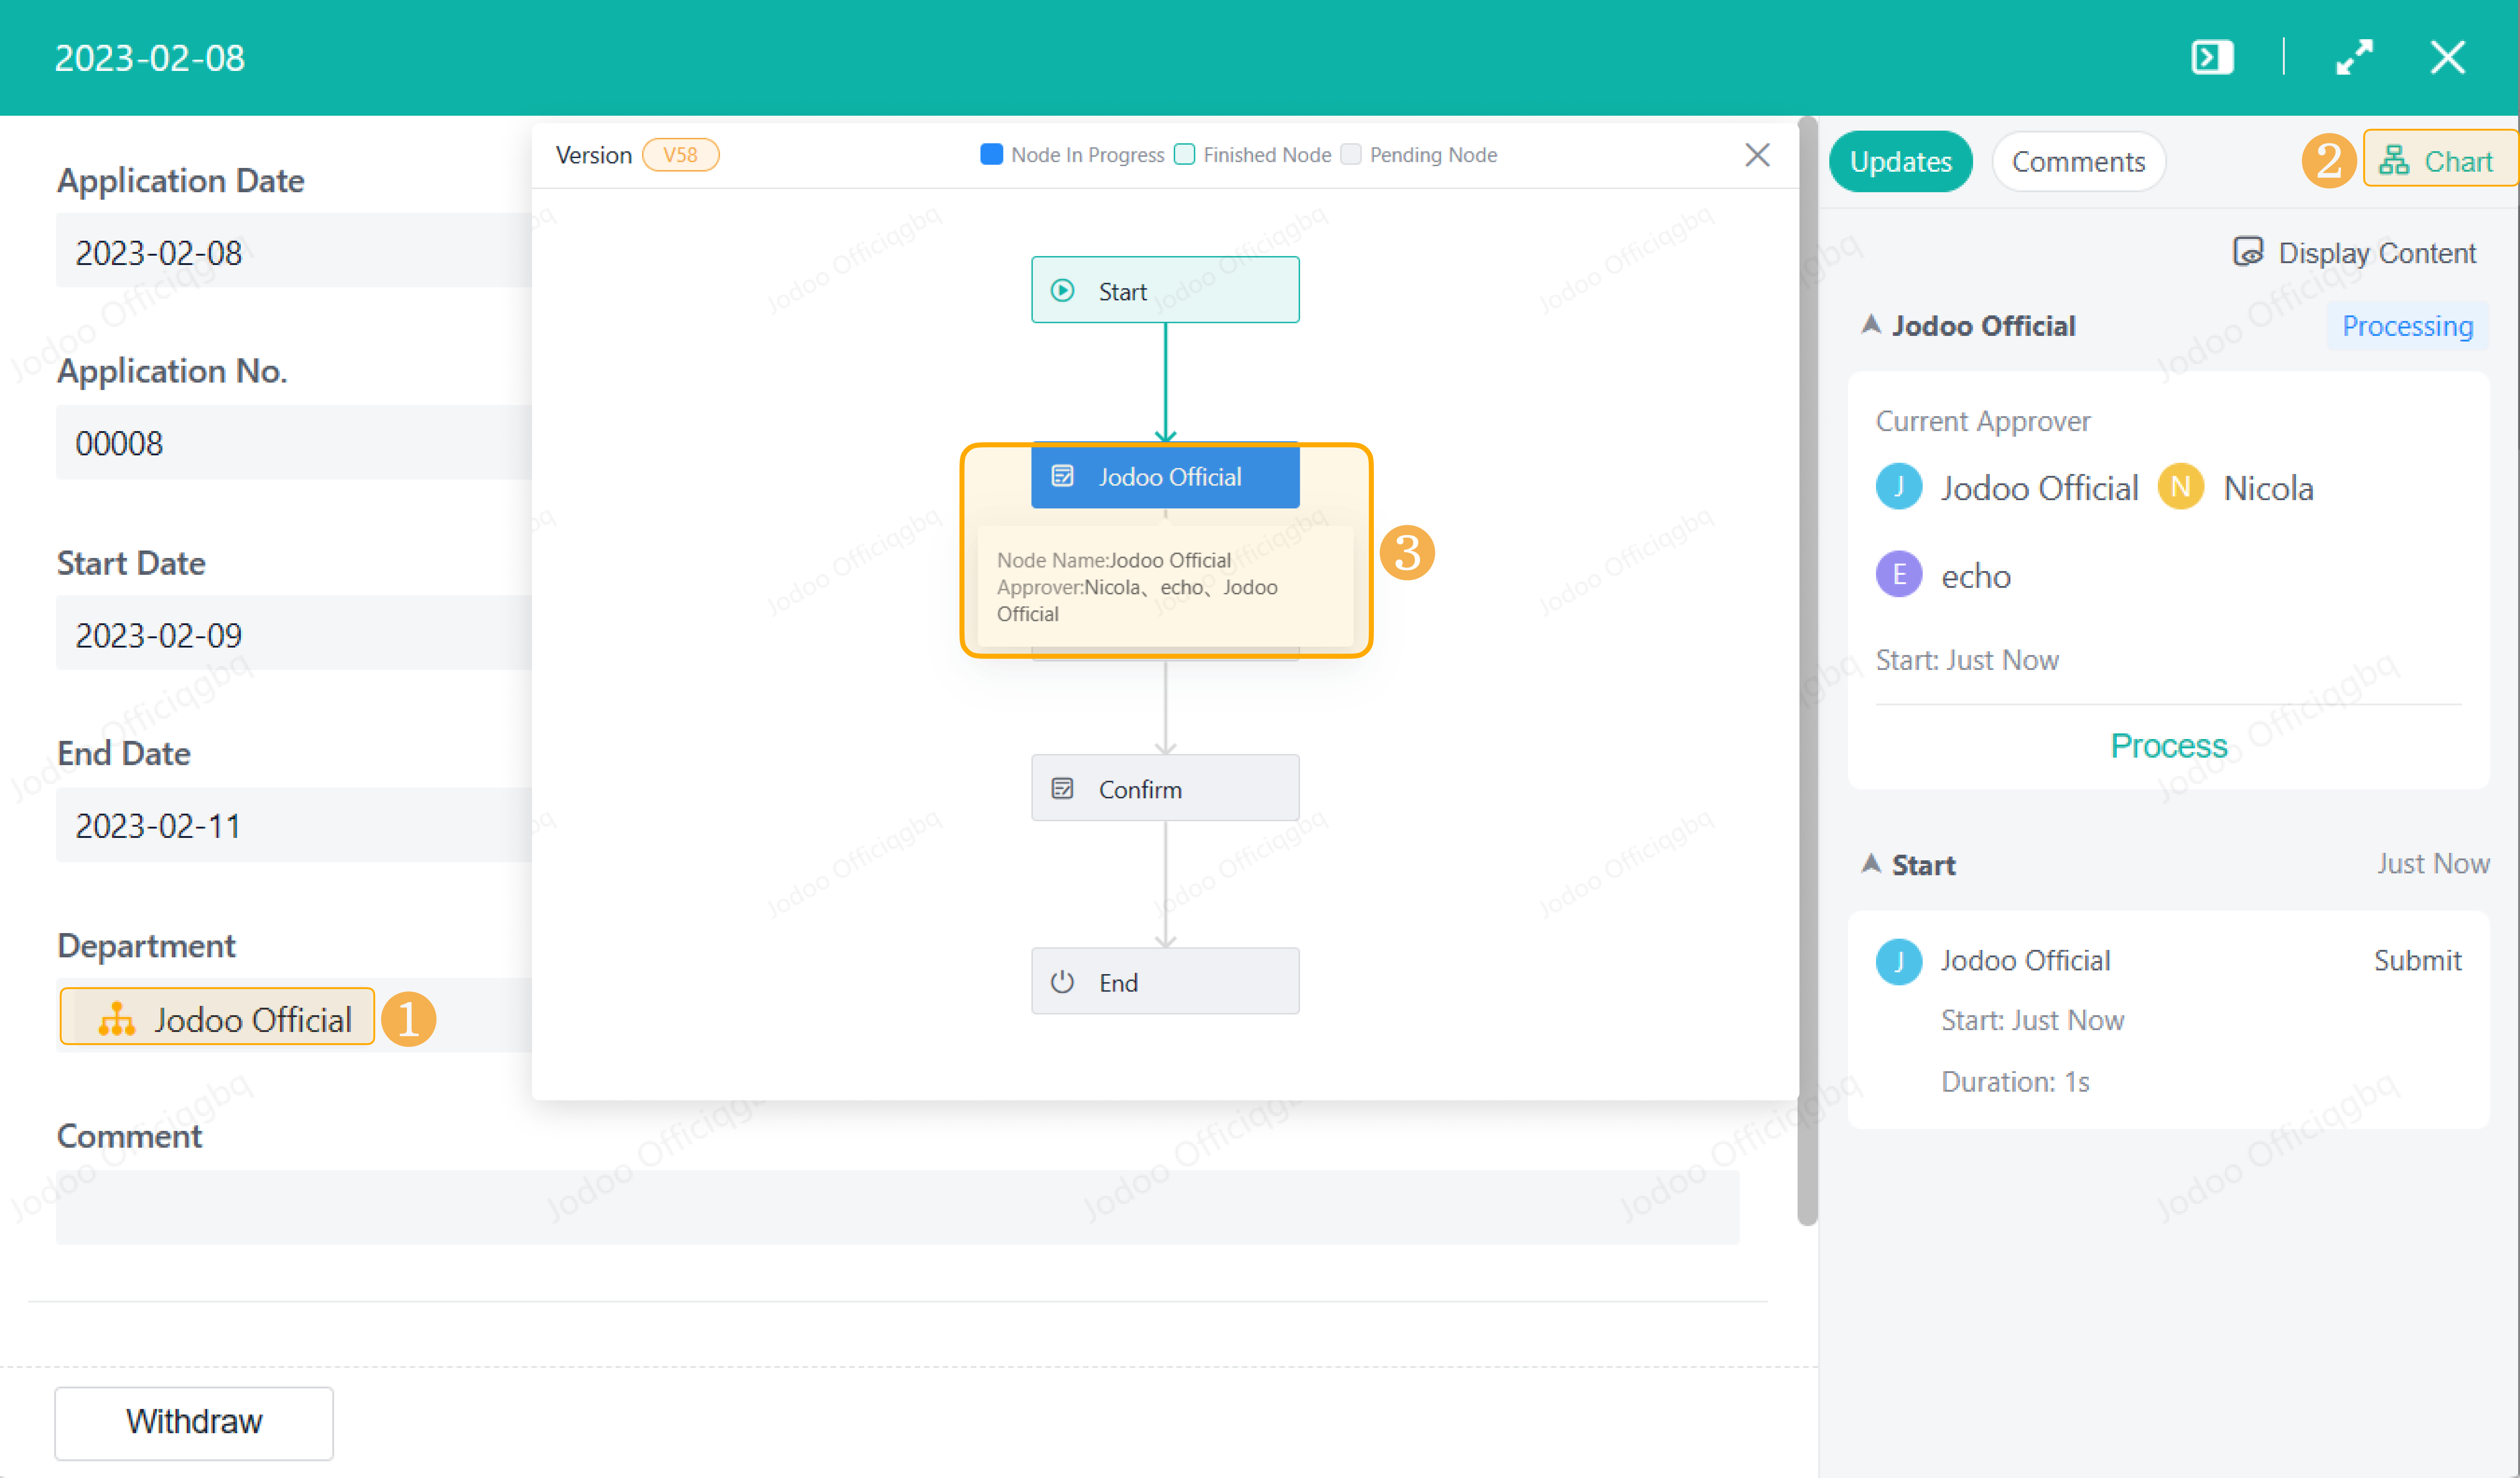
For example, you can view the approver you selected in Chart when submitting a workflow.
How to Select
Selecting the Workflow Initiator
A workflow initiator is a person who submits a workflow. If the initiator needs to recheck the workflow after it is reviewed, add the Confirm node and tick Workflow Initiator in Auto-Assign.
Selecting the Member Field
If you need the workflow initiator to select a certain approver or select one at a task node, drag a Member field to the workflow form. In this way, the workflow initiator can select the approver.
For example, in the case of vehicle application, you need members to select approvers.
1. Design a form.
When designing a form, drag the Member field to the form, enter Approver into the field, and select Marketing from Available Options.
2. Set the Approver.
After designing the form, design a workflow. Click Auto-assign > Member Field. Then tick Approver in Member Field, which was set when you designed the form.
3. Show your design.
If you select Peach as an approver when submitting a workflow, click Chart, and you will notice that Peach is the approver at the next node.
Selecting the Department Field
In the case that all members from a department should be set as approvers, you can select Dept. Field.
For example, for a vehicle application, all members from a department should handle it.
1. Design a form.
If all members from a department should be set as approvers, drag a Department field to the form when designing the form.
Take the vehicle application as an example:
2. Set the approver.
If you have dragged a Department field to the form design, select Dept. Field in Auto-assign when setting the approver, and then tick Department.
3. Show your design.
For example, you can view all the approvers you selected in Chart when submitting a workflow.
Selecting the Head
If an approver is the workflow initiator's head, the head should not be fixed. The head will change based on employee recruitment and resignation, organization structure change, and so on.
If you select Head in Auto-assign, you do not need to adjust the approver whenever there is a change in the organization structure.
Note:
1. The head can be the department head for the Member & Department fields when you design a form or the department head of the workflow initiator.
2. For department heads, a maximum of five levels can be set.
3. To ensure the smooth flow of the workflow, you need to set the corresponding approver as the head in Contacts. Otherwise, the system will not locate the head and stop the workflow at that particular node.
Data Linkage Approver
1. Design a form.
Design a basic information form for approvers. If you select a department when initiating a workflow, the head of the department will be displayed automatically.
a. The basic information form
The fields you set:
The approvers' records submitted:
b. Approver
Design a workflow form, drag the Member and Dept. fields to the form, and build a linkage between the basic information form and the workflow form. If you select a department when initiating a workflow, the head of the department will be displayed automatically.
2. Set the approver with data linkage.
Click Approver in Auto-Assign to set the approver.
3. Show your design.
Select the Marketing department. The linked approver is displayed automatically and is the approver at the next node.


