


Update Record
Introduction
Feature Overview
The Update Record nodes update the existing data retrieved at the node or selected from the target form.
If there is no record selected or retrieved, Automations Pro will add a record to the target form.
Note:
Before this, learn about the Update Record node at the Guide on Using Update Record.
Scenarios
Scenario Name | Problem Statement | Solution on Jodoo |
Order & Inventory Management | How to synchronize the inventory status of products across multiple forms after they are purchased and returned to the warehouse? | Set an Automations Pro to be triggered when a submitted return request is approved. It will automatically update status of goods in the Inventory form. |
Equipment Management | How to synchronize the status of equipment across multiple forms after the maintenance is finished? | Set an Automations Pro to be triggered when a maintenance record is updated. It will automatically update the equipment maintenance status in the Equipment Info form. |
Enrollment Management | How to synchronize the enrollment status of a student across multiple forms after they get enrolled? | Set an Automations Pro to be triggered when a student is marked Enrolled in the New Student Registration form. The status will be synchronized to the Enrollment Status form. If there is no enrollment record of that student, a new record will be added. |
Preview
In the enrollment management scenario, when a student is marked Enrolled in the New Student Registration form, Automations Pro will synchronize the status to the Enrollment Status form. If there is no record of that student in the Enrollment Status form, a new record will be added.
1. If the student’s information has been recorded in the Enrollment Status form, Automations Pro updates the record.

2. If not, adds a record.

Setting Automations Pro
To create an automation,
1. Click Extension > Automations > New Automation.
2. Rename the automation.
3. Choose the trigger type, Form Trigger, and choose the New Student Registration form from the drop-down list as the triggering form.
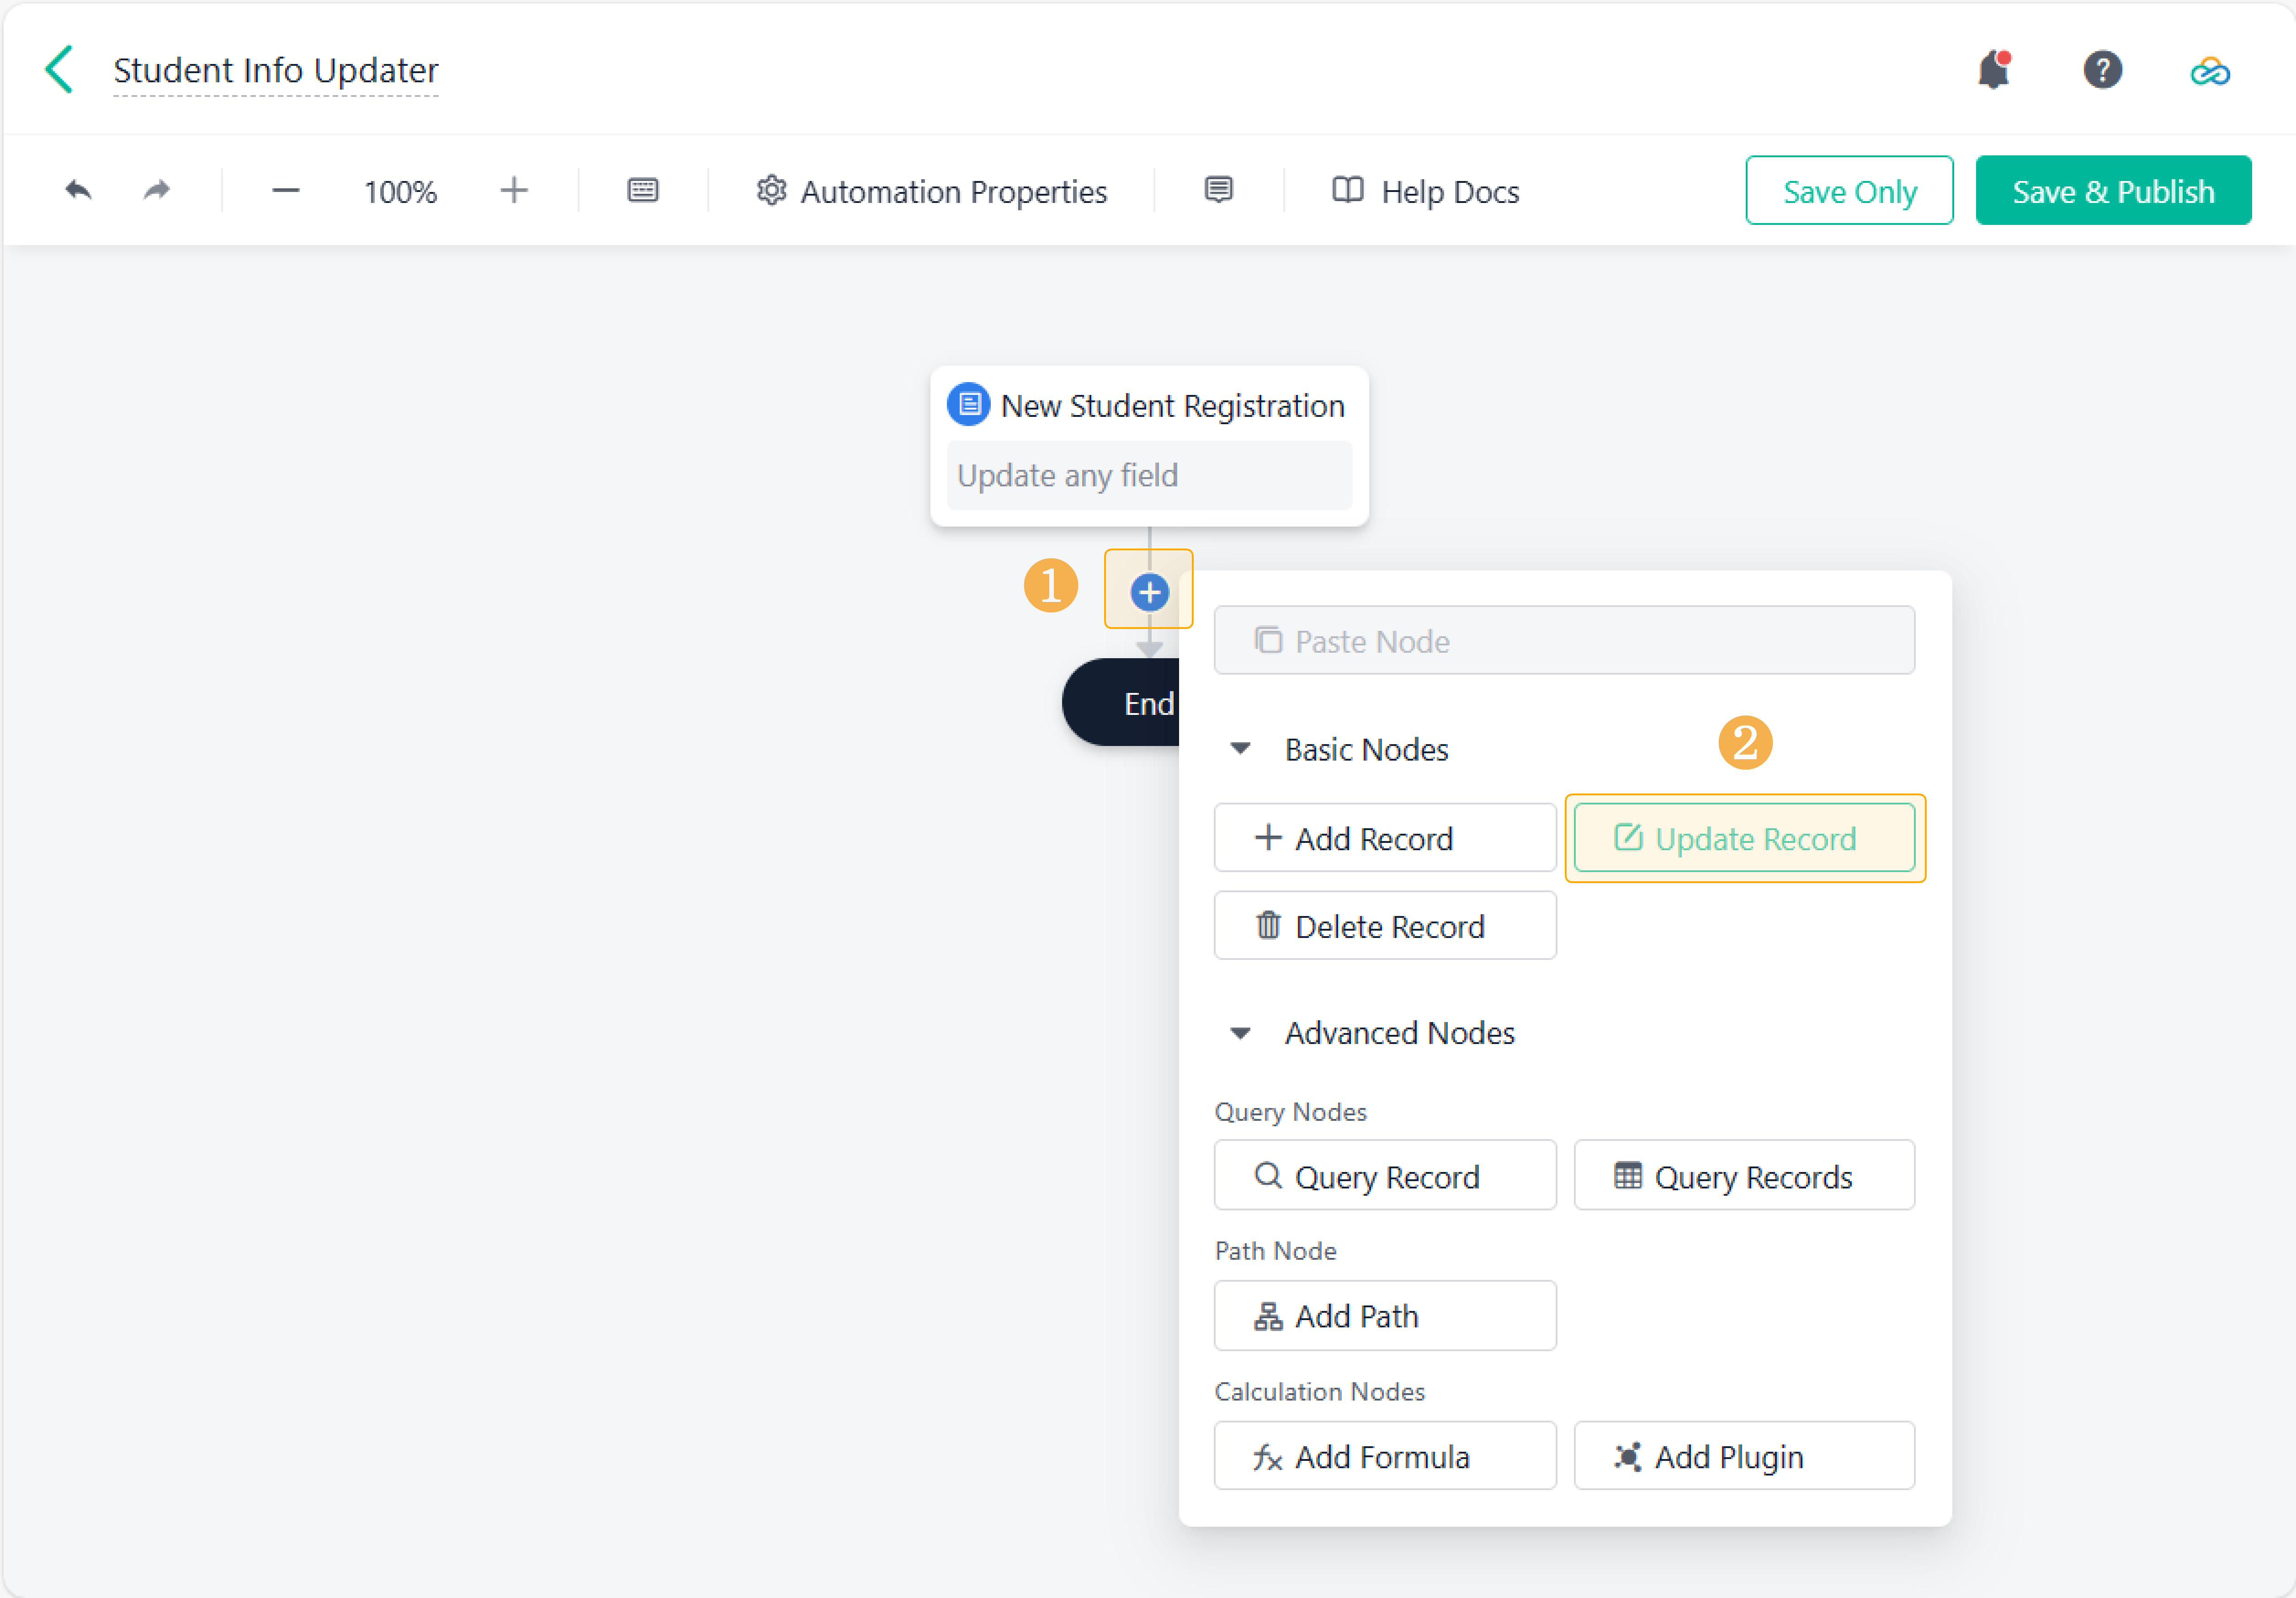
Adding the Update Record Node
Add an Update Record node under existing node(s).
Selecting What to Update
At the Update Record node, choose a type of record to update:
- Update Record in the form, if preceding nodes collect no record and you have to select some from the form;
- Update Record at the node, if there are specific records retrieved at a preceding node.
Note:
Updating includes: 1. Retrieve the data, and 2. Update the data.
In Automations Pro, there are some nodes (the Trigger node, the Query Record/Records node, etc.) where data can be retrieved. Thus, you can set those nodes to retrieve the data that you need, which allows for the subsequent update.
1. Record in the form
When you choose to update Record in the form, Automations Pro updates the data that are filtered and selected from the target form. You can choose the current form, or from forms across apps.

2. Record at the node
When you choose to update Record at the node, Automations Pro updates the data that are retrieved at the selected node. The nodes where data are able to be selected are the Trigger node, the Query Record/Records node, and the Add Record node:
- The Trigger node: The records that triggers the Automations Pro are to be updated.
- The Add Record node: The added records at this node are to be updated; this is to correct or renew the records.
- The Query Record/Records node: The queried records are to be updated; this is to update specific group of records from the target form.

Note:
1. If the Trigger node is set as Triggered by HTTP, there is no trigger data, and thus no record can be updated.
2. At the Query Record/Records nodes, only complete form records can be retrieved. Subform records cannot be retrieved separately.
3. If the Update Record node is on a path, you cannot select nodes on other paths to update; if the Update Record node is not on paths, you cannot select nodes on any path to update.
Filtering and Selecting the Records to Update
When you choose to update Record in the form, add filtering conditions to select the records from the target form for further updates. Here, the selected records is called the "target data".

Click Add Condition, and continue the settings:
- Logic among conditions: When you set multiple conditions, decide whether to retrieve the data that meet all the conditions or those that satisfy any of them.
- all of: The logic among multiple conditions is "and". The records that meet all the conditions get updated.
- any of: The logic among multiple conditions is "or". The records that meet any one condition get updated.
- Fields in the target form: Select fields in the target form, or system fields (Created User, Created Time, Updated Time, and Workflow Status).
- The rule for filtering: Apply rules based on the types of fields in the target form, and the options are equals, does not equal, contains, does not contain, is empty, is not empty, etc.
- The filter values: Select Field Value or Custom from the drop-down list. If you select Custom, enter the value manually.

Notes:
1. Even you use subfields to filter the records, not subform record but only complete form records can be selected. You can set matching relationship between target records and source records, to only update the matched subform records. See the Update field values section.
2. The setting of relationships and values vary among field types. For details, see Illustrations for Field Value.
3. Some fields cannot be filtered and selected: Divider, Query Data, Select Data, Button, Workflow Status, Current Node, Current Approver and integral system fields (Created User, Created Time, and Updated Time).
4. Some nodes can act as the data source for updating: the Trigger node, Query Record, Query records, Add record, Add formula, and Add Plugin. If the automation is set with a Scheduled Trigger and the Trigger Time is customized, there is no trigger data, and thus the Trigger node cannot be referenced.
Selecting a Way of Update
Under the filtering conditions, there is the option, If no record is to be updated, add one to the corresponding form.
- Not Tick this: Only the existing records get updated.
- If there is no record selected via filters, the automation goes skipping the node.
- If there are records selected after filtering, but none of them matches the source records, the updating is not executed, and a new round of matching starts.
- Tick this: Updating or adding records. If there is no record that is selected via filters/matches the source records, a record should be added to the target form.

Note:
1. The scenarios where no record is selected after filtering:
- You choose to update Record in the form, but the selected record from the form is empty;
- You choose to update Record at the node, but the retrieved record at the node is empty;
2. The scenario where no record is matched: When there are records selected after filtering, but none matches any source record (This scenario only occurs when multiple form records/subform records are selected to update).
For details of setting filtering conditions and matching relationship, see Guide on Using Update Record > Execution Logic.
Setting Field Values
1. In Update Record
a. Add the to-be-updated fields
Click Add Field, select the fields to be updated from the target records, and update their values as Field Value, Custom, or Empty.

Note:
1. The following fields from the target form to which cannot be assigned values: Divider, Query Data, Select Data, Button, Signature, Serial No., and integral system fields (Created User, Created Time, and Updated Time).
2. The setting of assigned values vary among field types. For details, see the Update Limits section.
b. Set the matching relationship (optional, in some scenarios)
If you select to update multiple records/subfields, Automations Pro may find it hard to locate the record(s) to be updated.
In this case, it is necessary to set the matching relationship/conditions for update to collect specific records.

2. Add field values
If the option, If no record is to be updated, add one to the corresponding form, is ticked, the Add Record button will show up. Click it, where you set the to-be-added field values.

Note:
1. In Add Record, the setting of values vary among field types. For details, see Add Record.
2. When you update or add subfields in the same subform/multiple form records, and use multi-value fields to assign values to them, make sure the data source for the assignment should be the same one for the matching condition(s). For details, see SubForm Assignment Rules.
3. In Update Record, if a (main) field to be added is also selected here (i.e., can also be updated), and a multi-value field from a source is used to assign the value/set the matching relationship, you can use any multi-value field from the same source or a single-value field from any above source for value assignment in Add Record.
4. In Update Record, if a subfield to be added is also selected here (i.e., is also to be updated), and a multi-value field from a source is used to assign the value/set the matching relationship, you can use any multi-value field from the same source or a single-value field from any above source for value assignment in Add Record. If you do not use a multi-value field for assignment or matching in Update Record, you can only choose single-value fields for assignment in Add Record.
Notes
General Descriptions
1. The Image field and the Attachment field in the target form can be assigned by either Field Value retrieved from Trigger Data, or as Empty. Their values cannot be customized.
2. To set for the update of subfields, you should obey SubForm Assignment Rules. To avoid previous assignment settings being invaliated when they conflict against a new assignment equation, we hide the conflict fields in the drop-down menu that only provides compatible fields.
If you want to view all the available fields, hover your cursor over , and click Show all fields:

3. When you try using the data retrieved at a preceding node for filtering and assignment, but there is no available record, the automation may fail at the Update Record node. For details, see Action Nodes.
Limits for Update
1. In maximum, 200 records are available to be updated at the Update Record node at a time. During an update, if there are over 200 records selected or retrieved, the update should not be executed, and an error notification will be displayed.
2. To update multiple subform records, you can set the field values as follows:
If the calculation volume for record matching, SUM(Target Record.Subform Record Volume*Record Value of Data Source*Amount of Matching Conditions) , is less than or equal to 1,000,000, the update will continue, otherwise it may fail.
- Use (main) fields from a Query Records node to update subfields of the target form;
- Use subfields from a Query Record node to update subfields of the target form;
In a scenario of synchronizing updates in the inventory data, if a workflow is initiated to modify the purchase quantities of the same product across warehouses, you need to update multiple records in the Inbound Details (updated) form. Therefore, the calculation volume should be: SUM(1*2*2,2*2*2) = 12.

If the updating fails because of overloaded calculation, you can delete some of the matching conditions, or reduce the number of to-be-updated records.
The Assigned Values
Target fields can be assigned the following three types of values to: Field Value, Custom and Empty.
Note:
In Automations Pro, Assigned Value refers to values stored at a preceding node (including the Trigger node and action nodes). In the following passage, it will be referred to as "field (value) at the node".
1. Field value
a. The target field can be assigned values to by a field at the node. That is, to use the records stored at a preceding node to assign values to the fields in the target form.

b. If you choose to assign values to the target fields using Field Value, you can reference field values stored at a preceding node, which could be Trigger, Add Record, Query Record/Records, Add Formula, and Add Plugin.
- When there exist multiple preceding nodes, they can be used together in value assignment.
- When the automation is set to be triggered by Scheduled Trigger > Custom Time, there would not be trigger data at the Trigger node; it cannot be used to assign values.
c. The corresponding fields at the node vary among target field types:
Fields in the Target Form | Fields at the Node |
Single Line Single Select Radio | Single Line, Single Select, Radio, URL Parameter, Serial No., SubForm (Single Line, Single Select, Radio) |
Multi Line | Multi Line, SubForm (Multi Line), Single Select, Radio, Serial No., Add Formula nodes (textual results), Add Plugin nodes (textual return parameter), textual fields from Trigger Data (Triggered by HTTP) |
Number | Number, SubForm (Number), Records amount (of Query Record/Records nodes) |
Checkbox Multi Select | Checkbox, Multi Select, SubForm (Checkbox, Multi Select) |
Date&Time | Date&Time, SubForm (Date&Time), Created Time, Updated Time |
SubFields | SubFields |
Image | Image, SubForm (Image) |
Attachment | Attachment, SubForm (Attachment), retrieved print file from the Generate Print File Node |
Member | Member, SubForm (Member), Created User |
Members | Members, SubForm (Members) |
Department | Department, SubForm (Department) |
Departments | Departments, SubForm (Departments) |
c. Exceptions—When the settings of the target fields and of the fields at the node differ as follows:
Fields in the Target Form | Fields at the Node | Solutions |
You can only upload one image in the Image field. | You can upload multiple images in the Image field. | Assign the first image of the Image field at the preceding node to the Image field in the target form. |
You can only upload one attachment in the Attachment field. | You can upload multiple attachments in the Attachment field. | Assign the first document of the Attachment field at the preceding node to the Attachment field in the target form. |
Only date is displayed in the Date&Time field. | Date and time are both bdisplayed in the Date&Time field. | Assign the date value of the Date&Time field at the preceding node to the Date&Time field in the target form, and discard the time value. |
Date and time are both displayed in the Date&Time field. | Only date is displayed in the Date&Time field. | Assign the date value of the Date&Time field at the preceding node to the Date&Time field in the target form, and set the time as 00:00:00. |
2. Custom
a. It is available to set a custom value for fields in the target form:

b. For different types of fields in the target form, the setting methods of the custom value are as follows:
Fields in the Target Form | Settings |
Single Line Multi Line Radio Single Select | Input text. |
Checkbox Multi Select | Input multiple texts, and press Enter to separate them. |
Number | Input numbers, and non-number values will be considered as empty. |
Date&Time | Select date/date and time. |
Member Members | Click to select members. |
Department Departments | Click to select departments. |
c. Empty
It is available to set the field value of the target form as Empty:
